Hello everyone,
Welcome to the “Steam workshop upload” tutorial. Here we will show you how to upload your map to Steam Workshop.
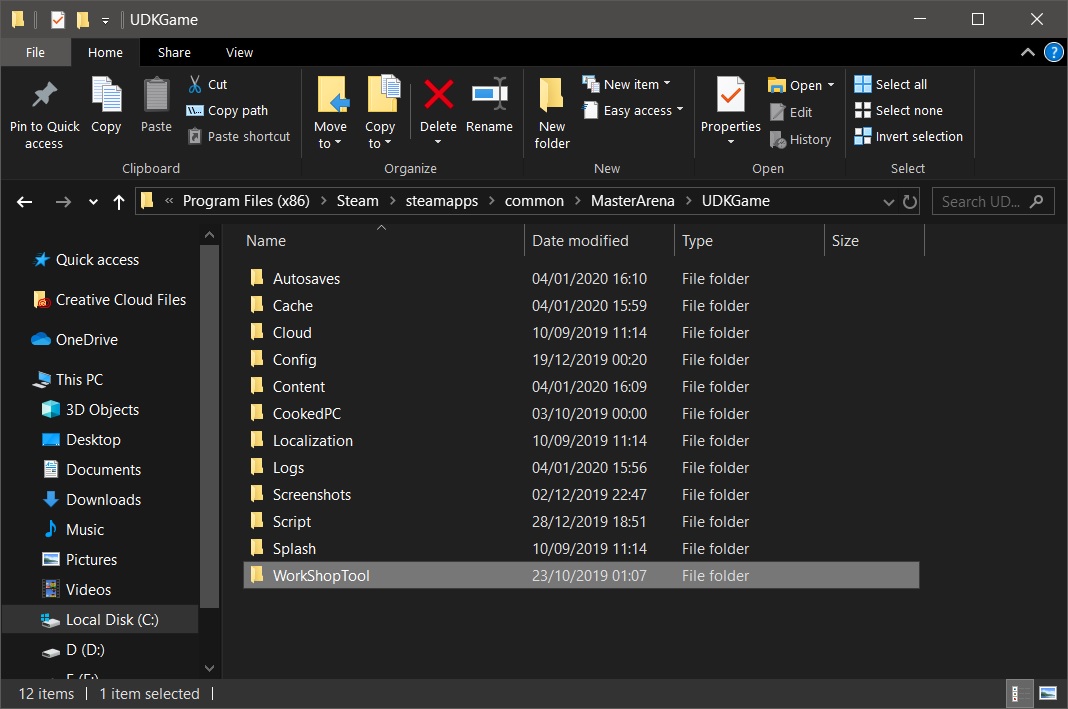
1 – Go to “WorkShopTool” directory located in \MasterArena\UDKGame\
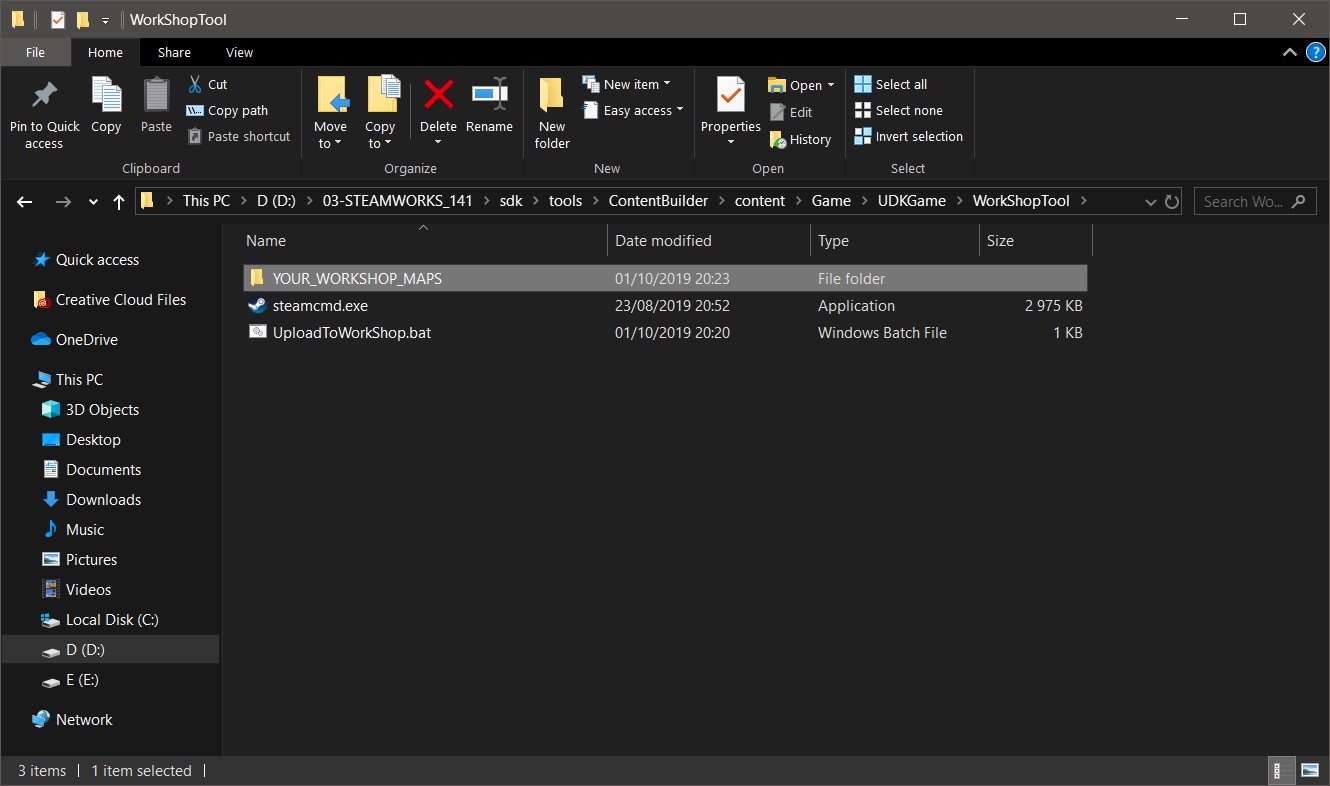
2 – Open “YOUR_WORKSHOP_MAPS” directory
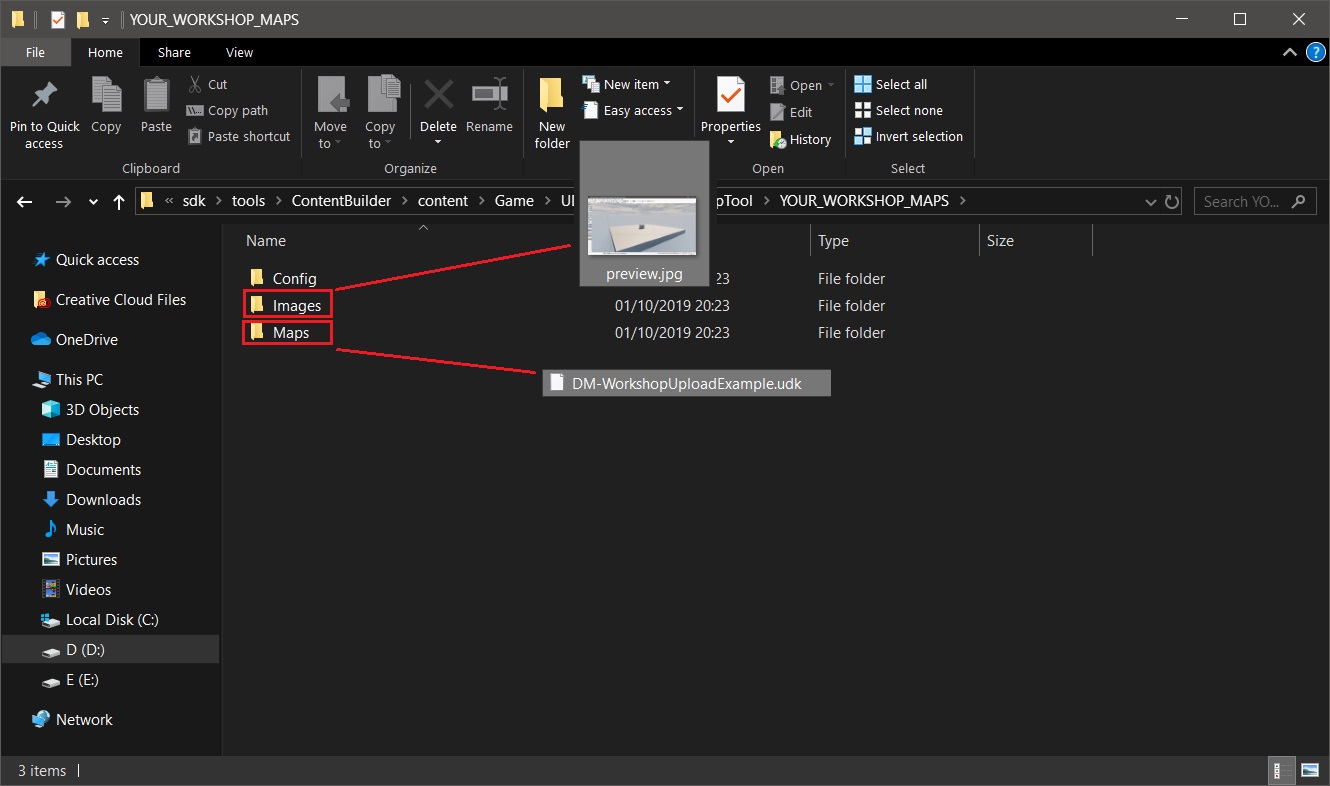
3 – Add your map (.udk) in “Maps” and your screenshot (.jpg) in “Images” subfolders:
4 – Next enter to “Config” subfolder and open notepad. Now copy and paste this text:
"workshopitem"
{
"appid" "704020"
"publishedfileid" ""
"contentfolder" "./YOUR_WORKSHOP_MAPS/Maps/YOUR_MAP_NAME.udk"
"previewfile" "./YOUR_WORKSHOP_MAPS/Images/YOUR_PREVIEW.jpg"
"visibility" "0"
"title" "YOUR_MAP_NAME"
"description" "DESCRIPTION OF YOUR MAP"
"changenote" "Initial Release"
}
Edit all field you need and save it as .vdf
5 – Last step, return to workshop Tool directory and edit “UploadToWorkShop.bat”:
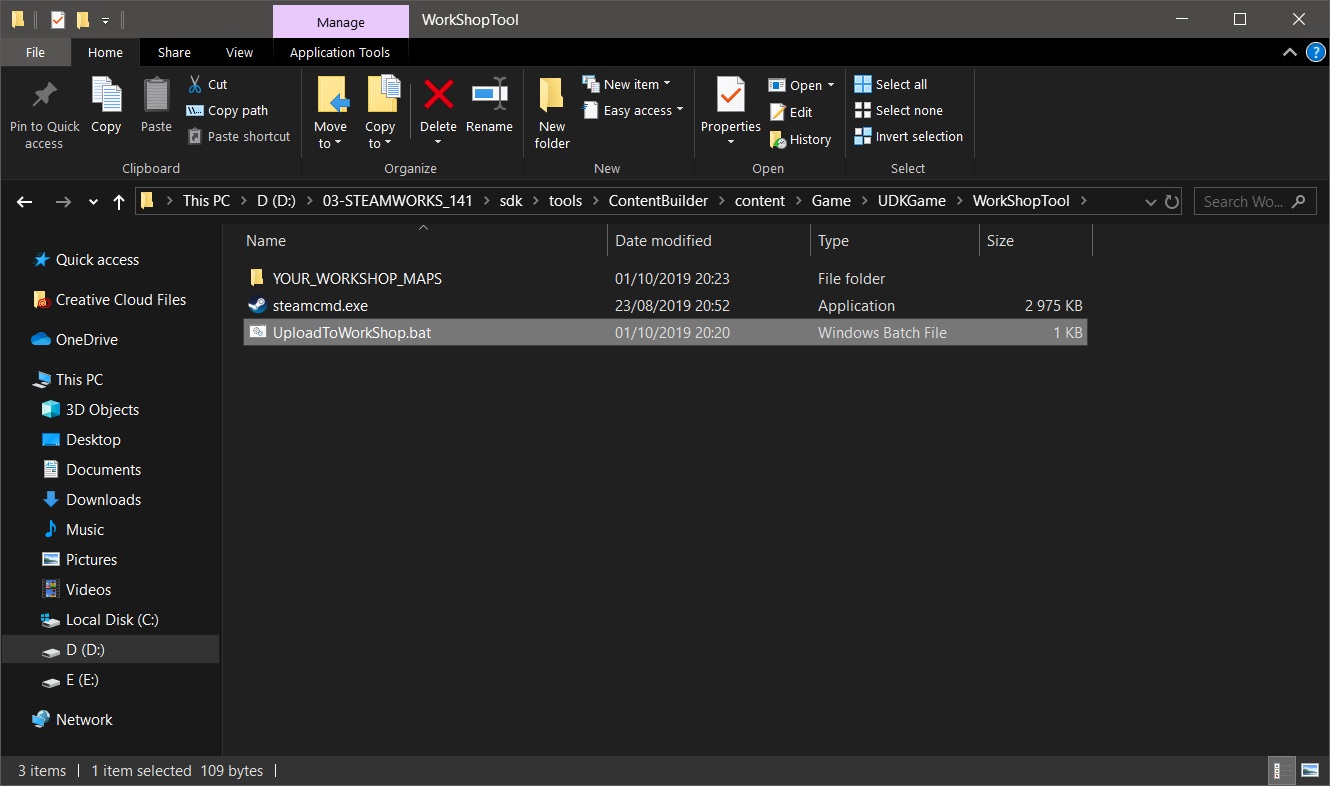
6 – Set your Steam logins and set the correct name for your .vdf file:

7 – And then, run it (this can take a while depending of your connection, be patient…):
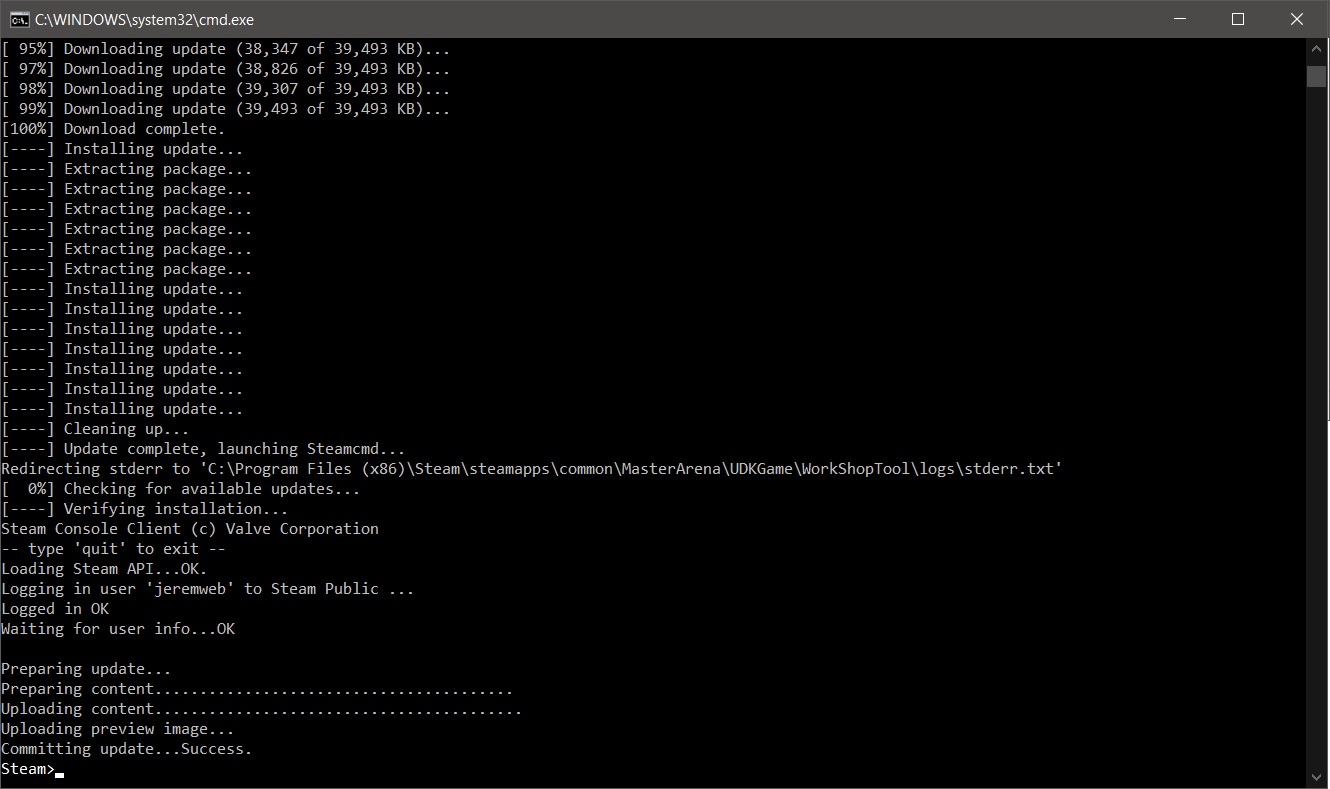
Congratulations, you just upload your map on Master Arena Steam Workshop🙂
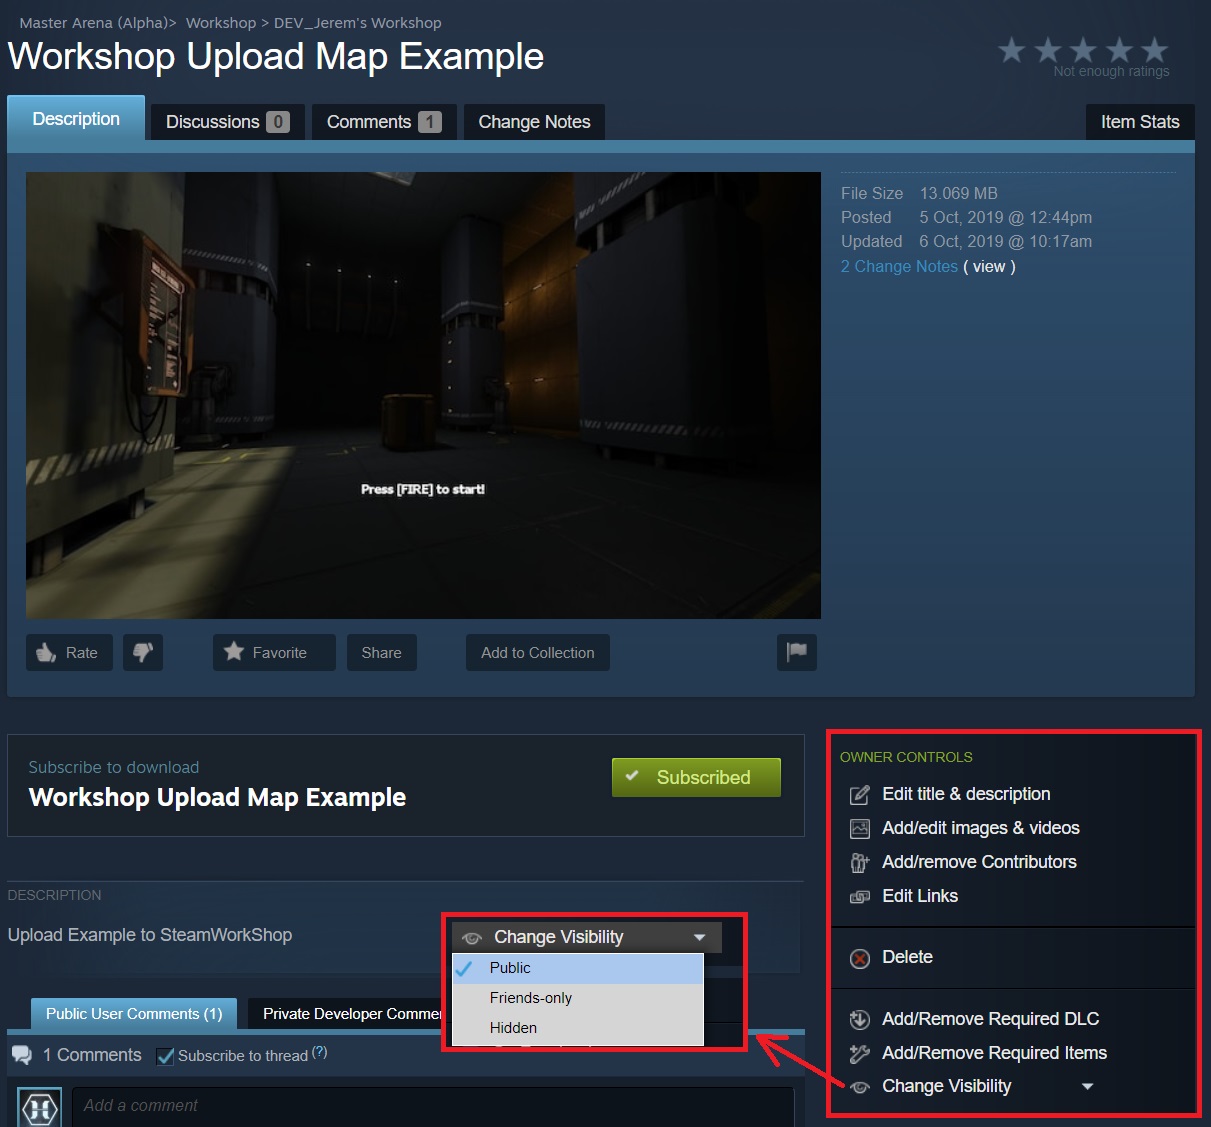
Finally, to permit other player to see you map, you have to change your map visibility to “Public” from the workshop page:
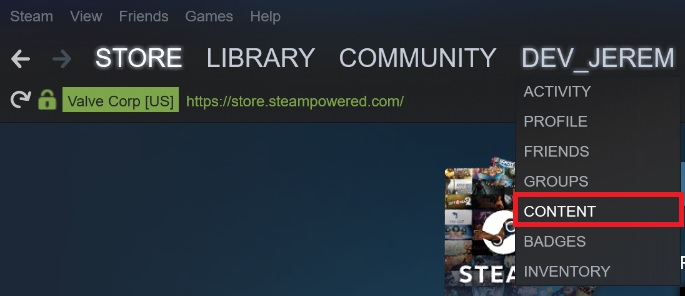
8 – Click on your profile name > CONTENT
9 – Click on Workshop Items (right side):
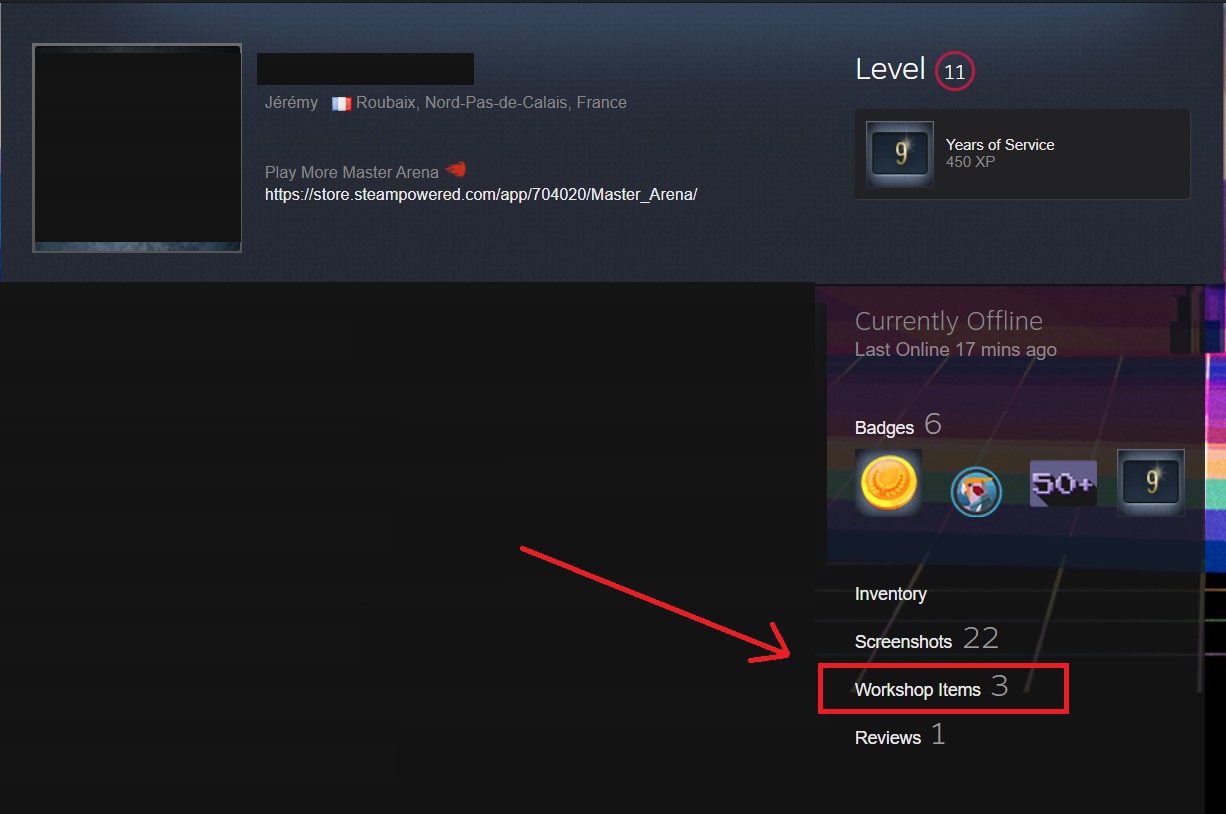
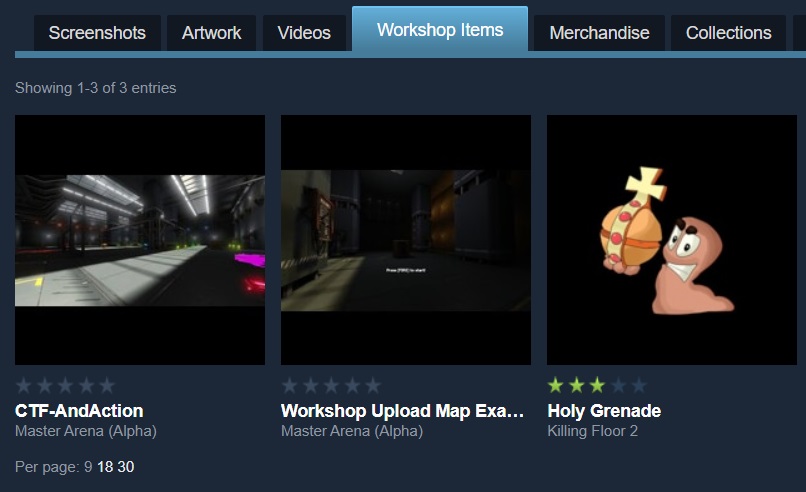
10 – Click on “Workshop Items” Tab then click on your map:
11 – Now on the right side, in “Owner Controls”, set your map visibility.
