Hello everyone,
If you are here, you probably want to create a map but you never used the Unreal Engine. In this case, here we explain how to use it.
Here is explained how to create a map with our asset and minimum requirements in order to be playable. Well, let’s get started!
01
Let’s start the map editor.
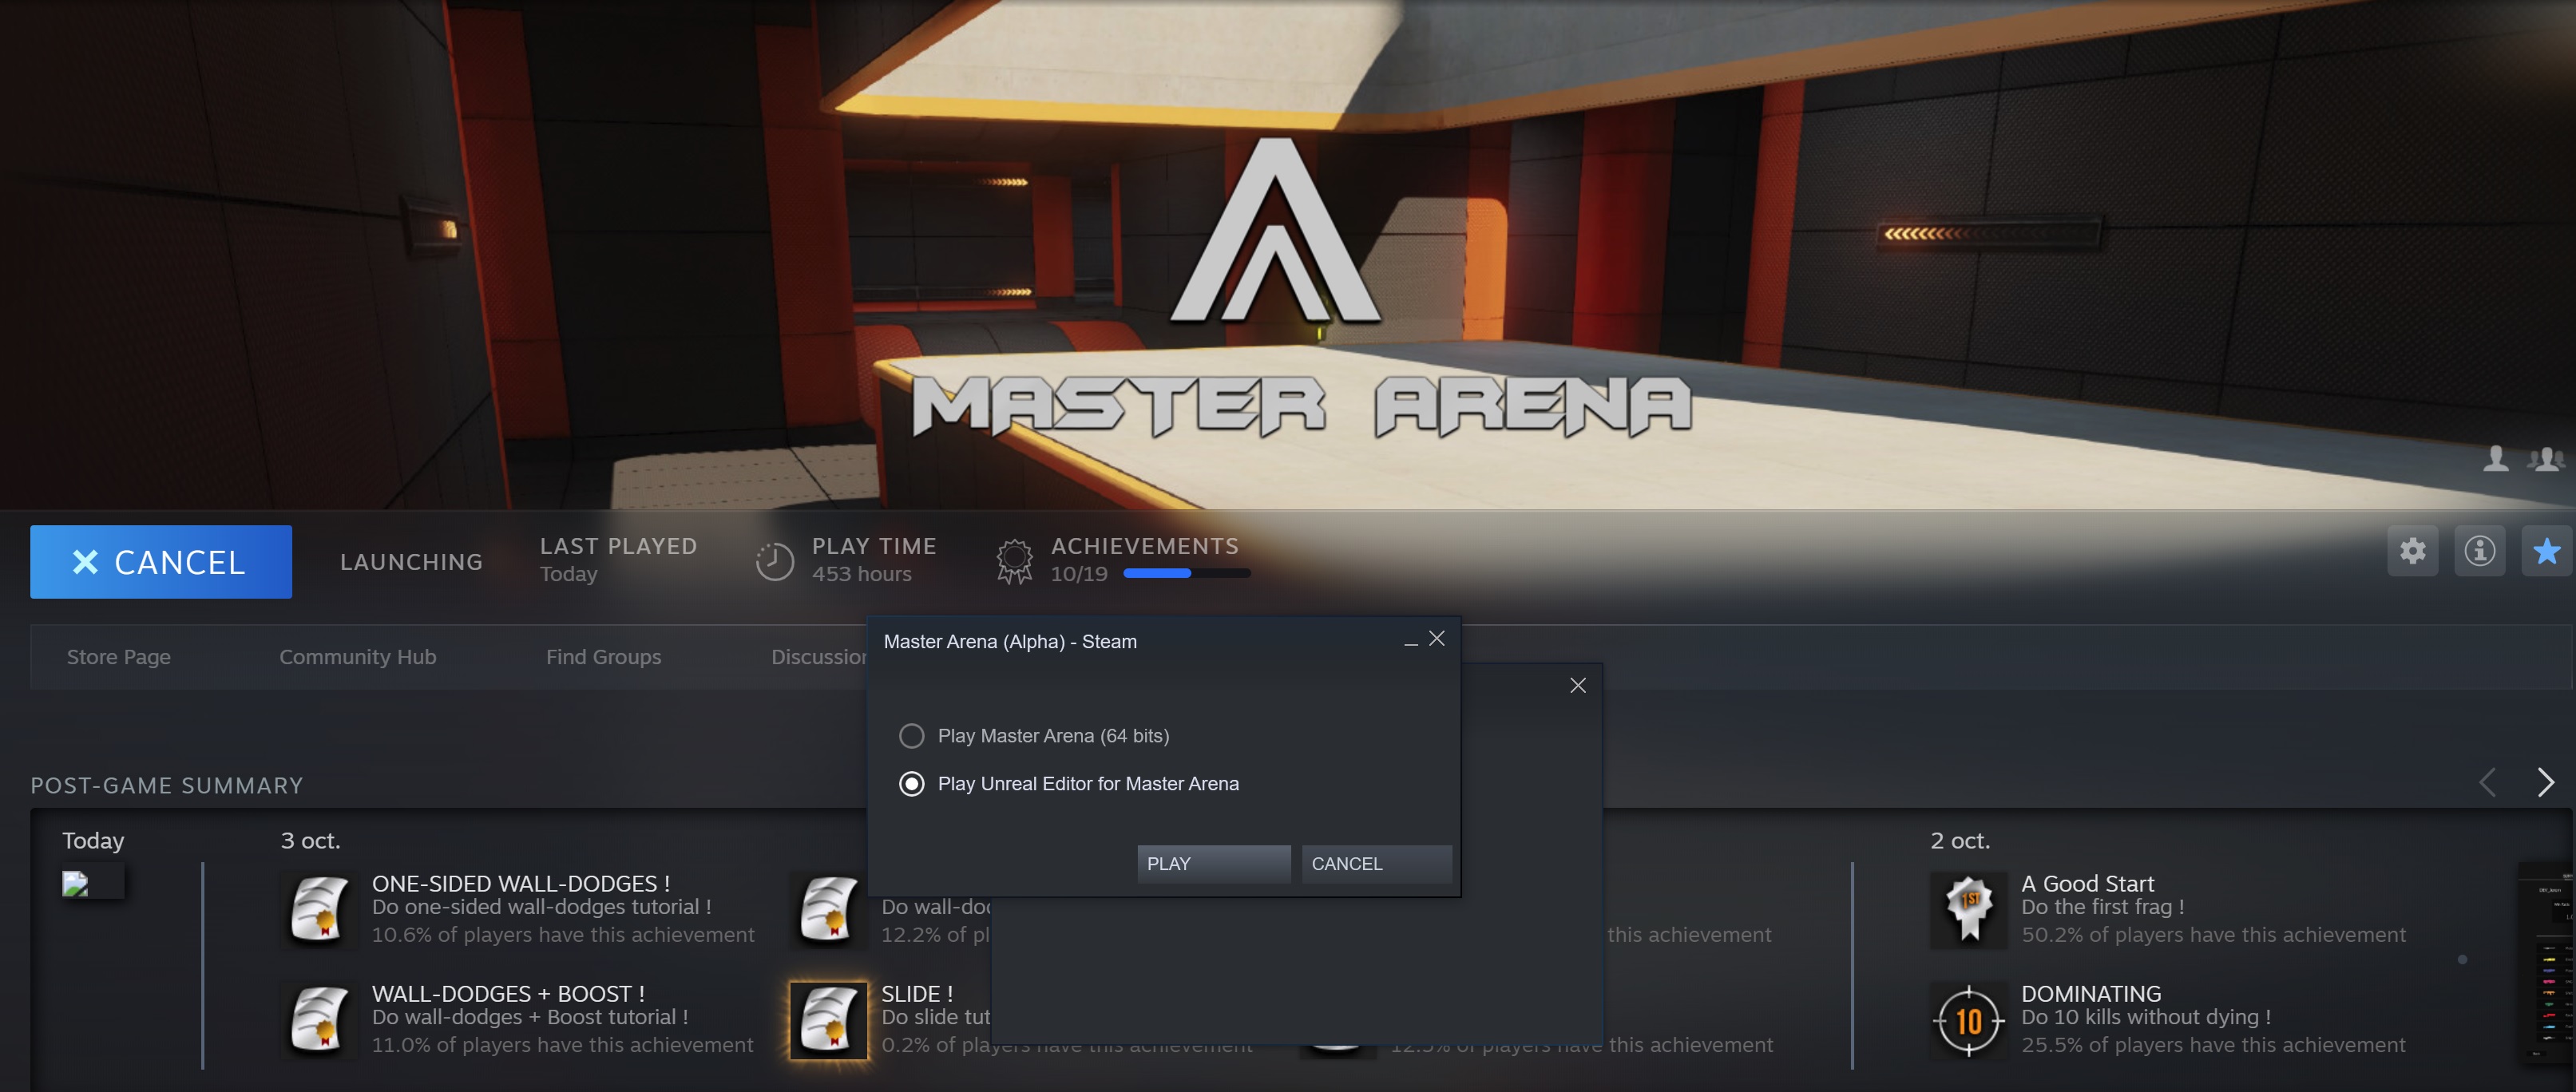
From Steam, press “PLAY” button and select “Play Unreal Editor for Master Arena“:
02
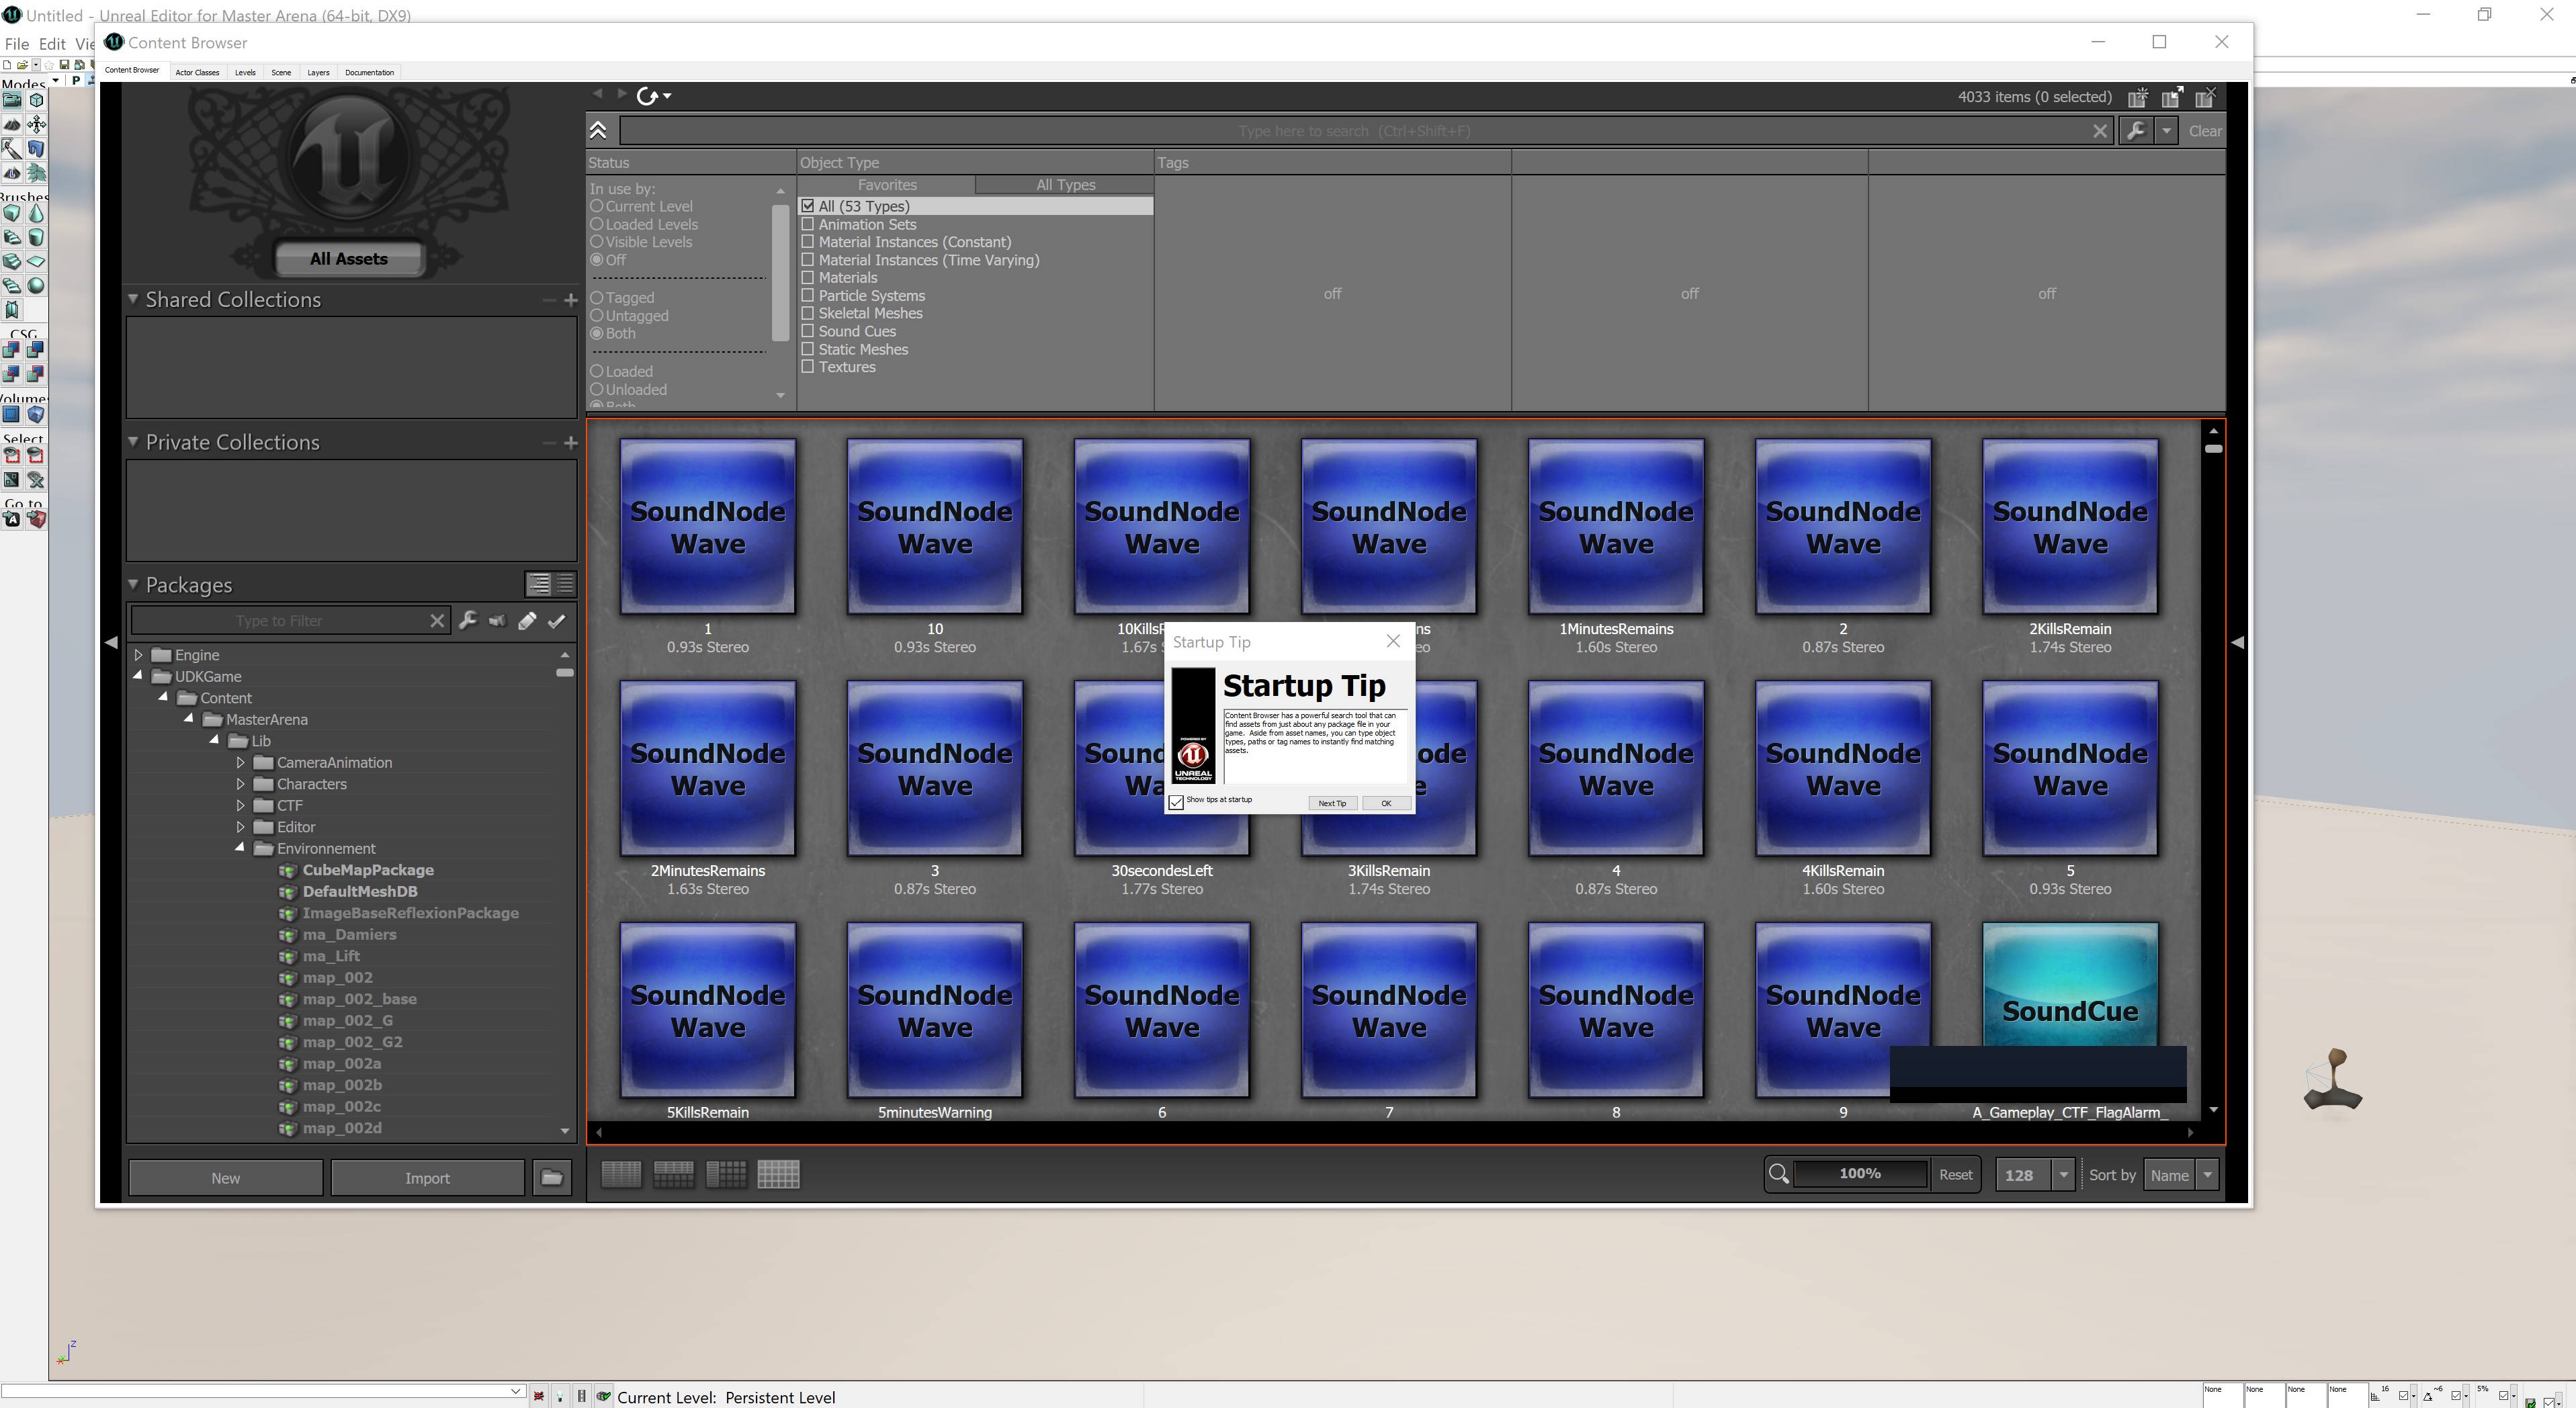
Once it is started, you will have three windows. Close “Startup Tip” and “Content Browser”.
03
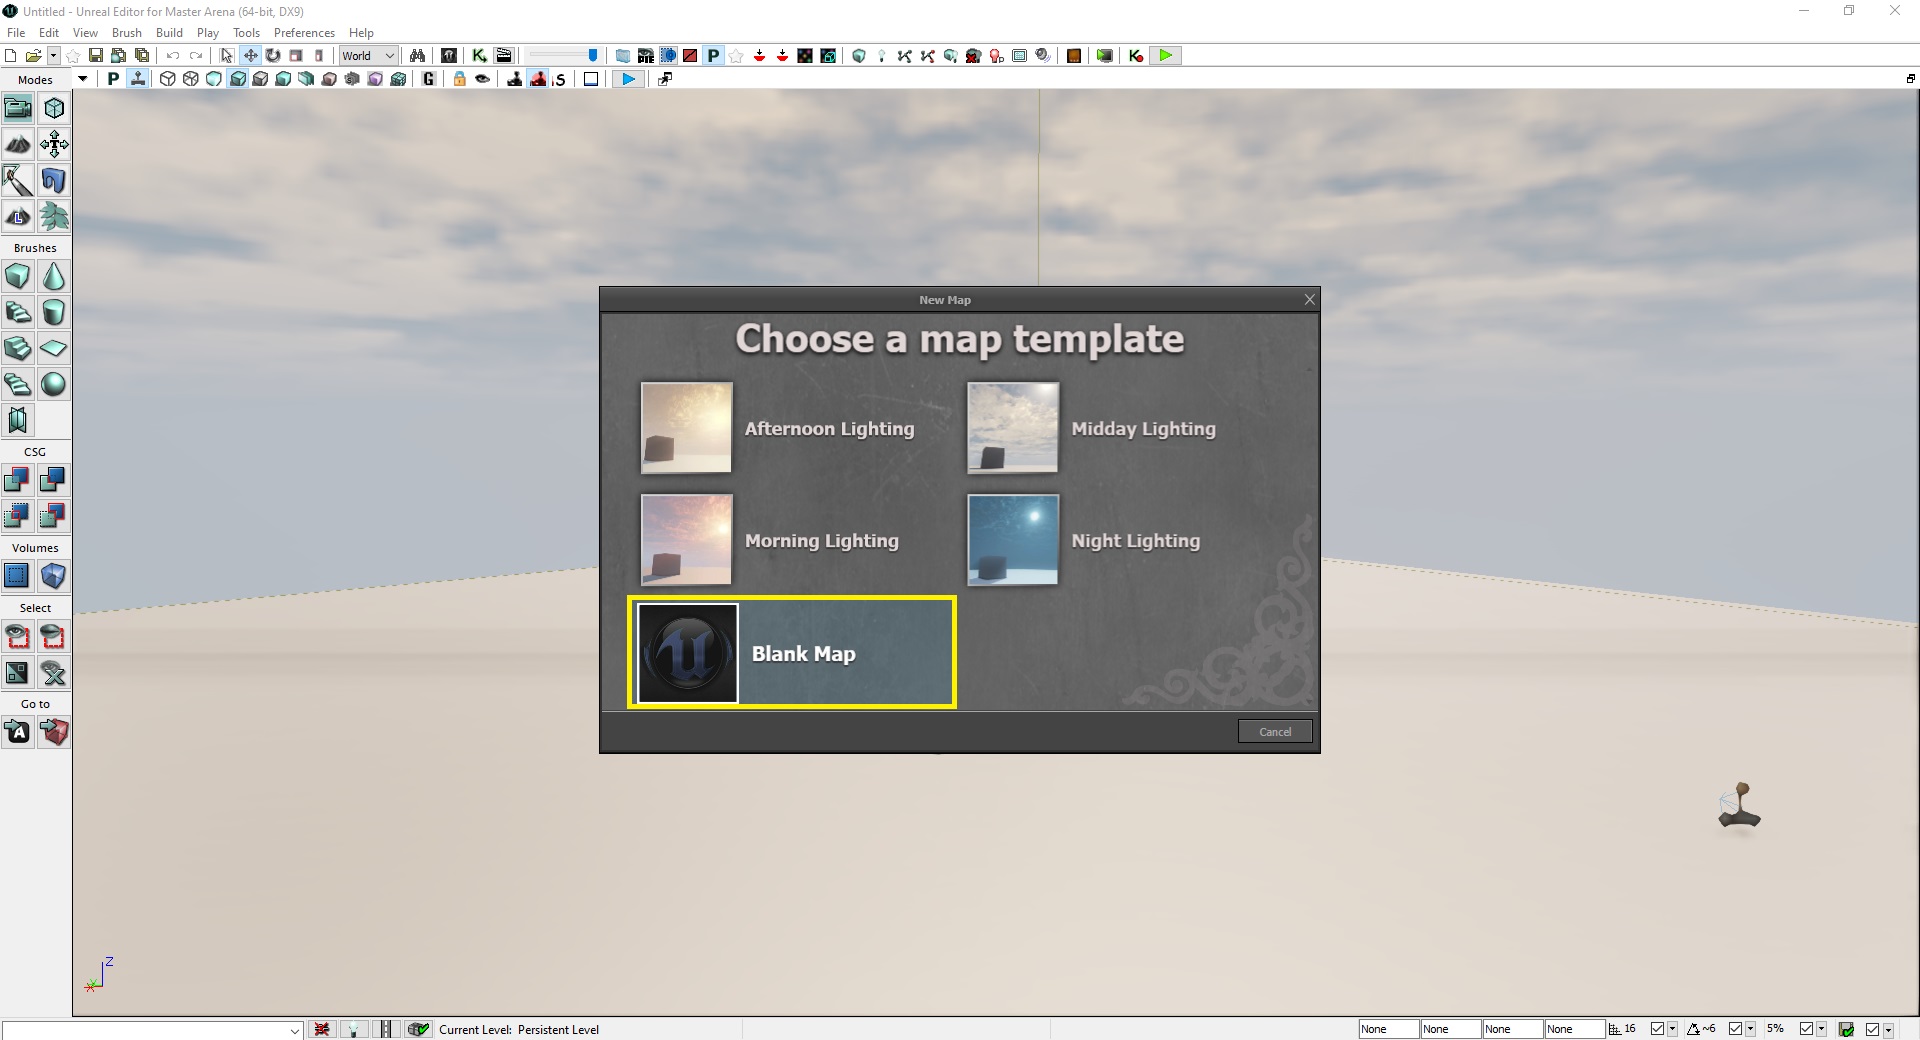
To start creating a map, you’ll need to click on “File” and select “New Level…“:
04
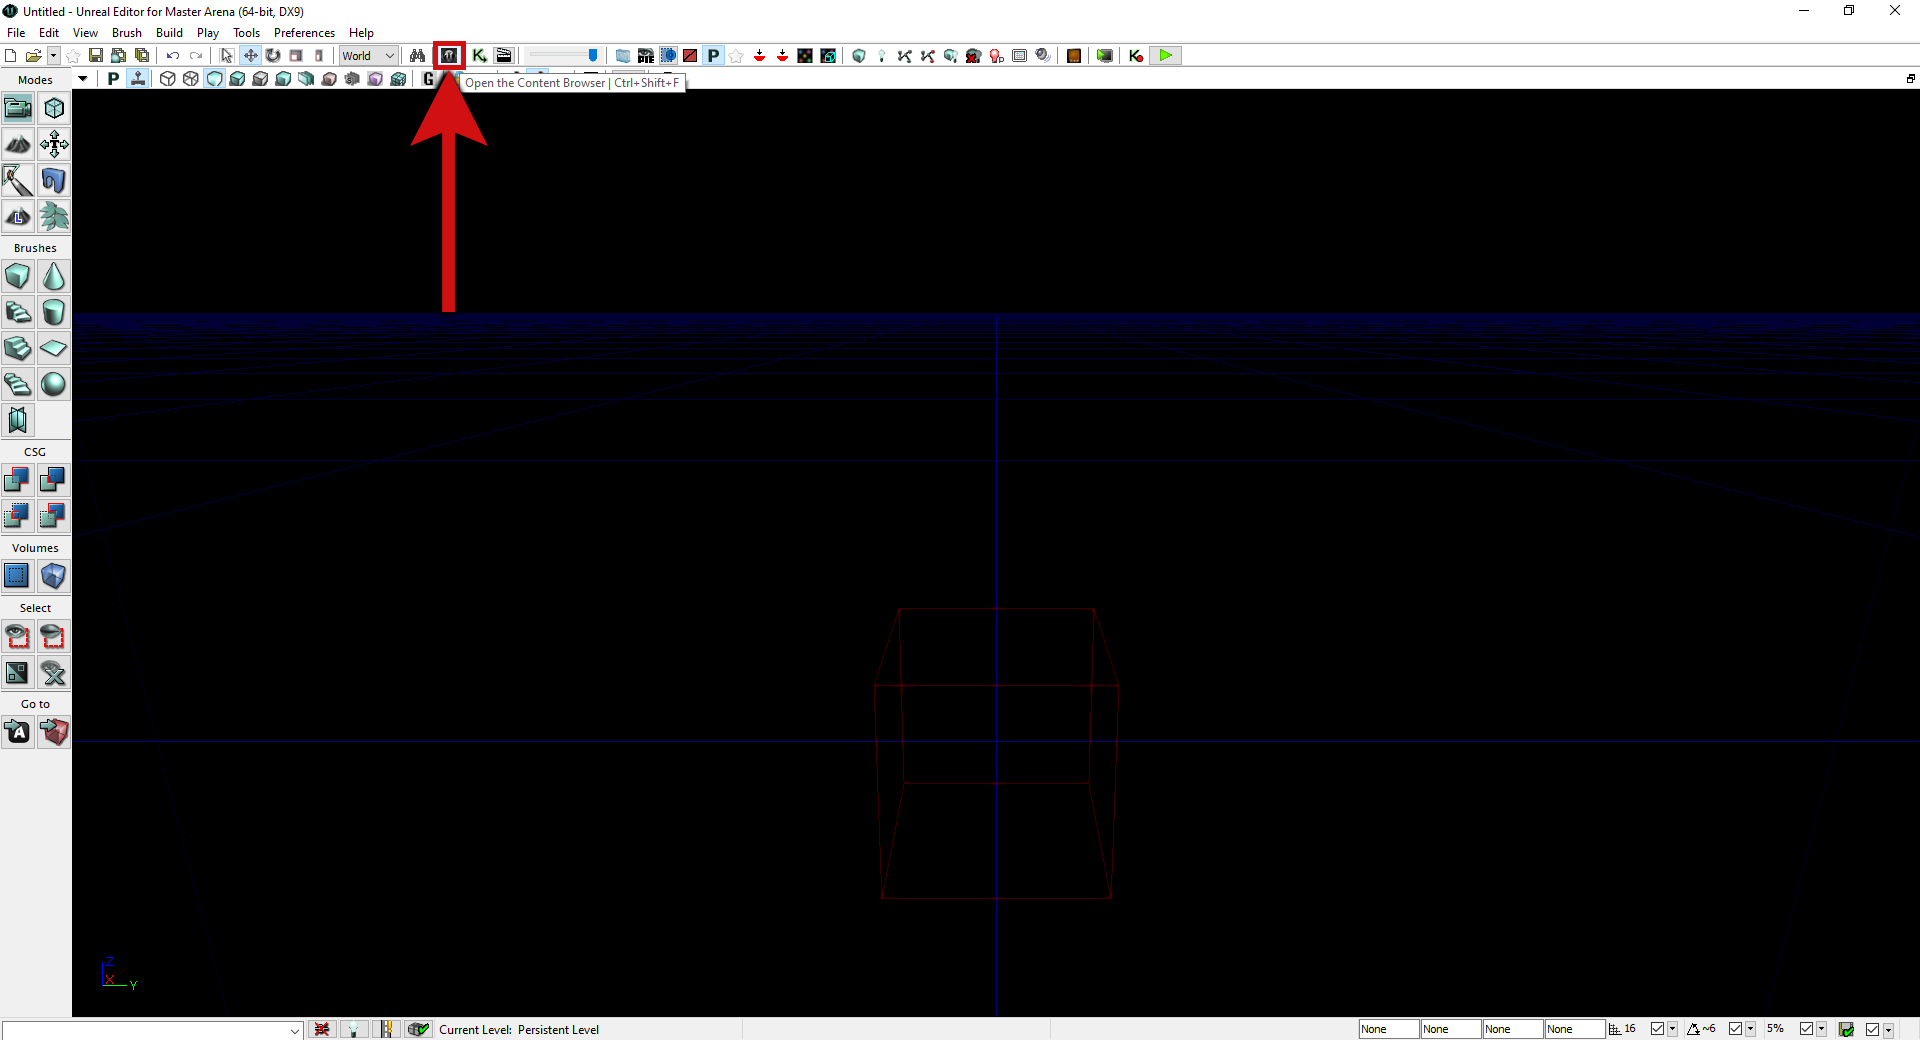
To access to the library, click the “U” icon:
05
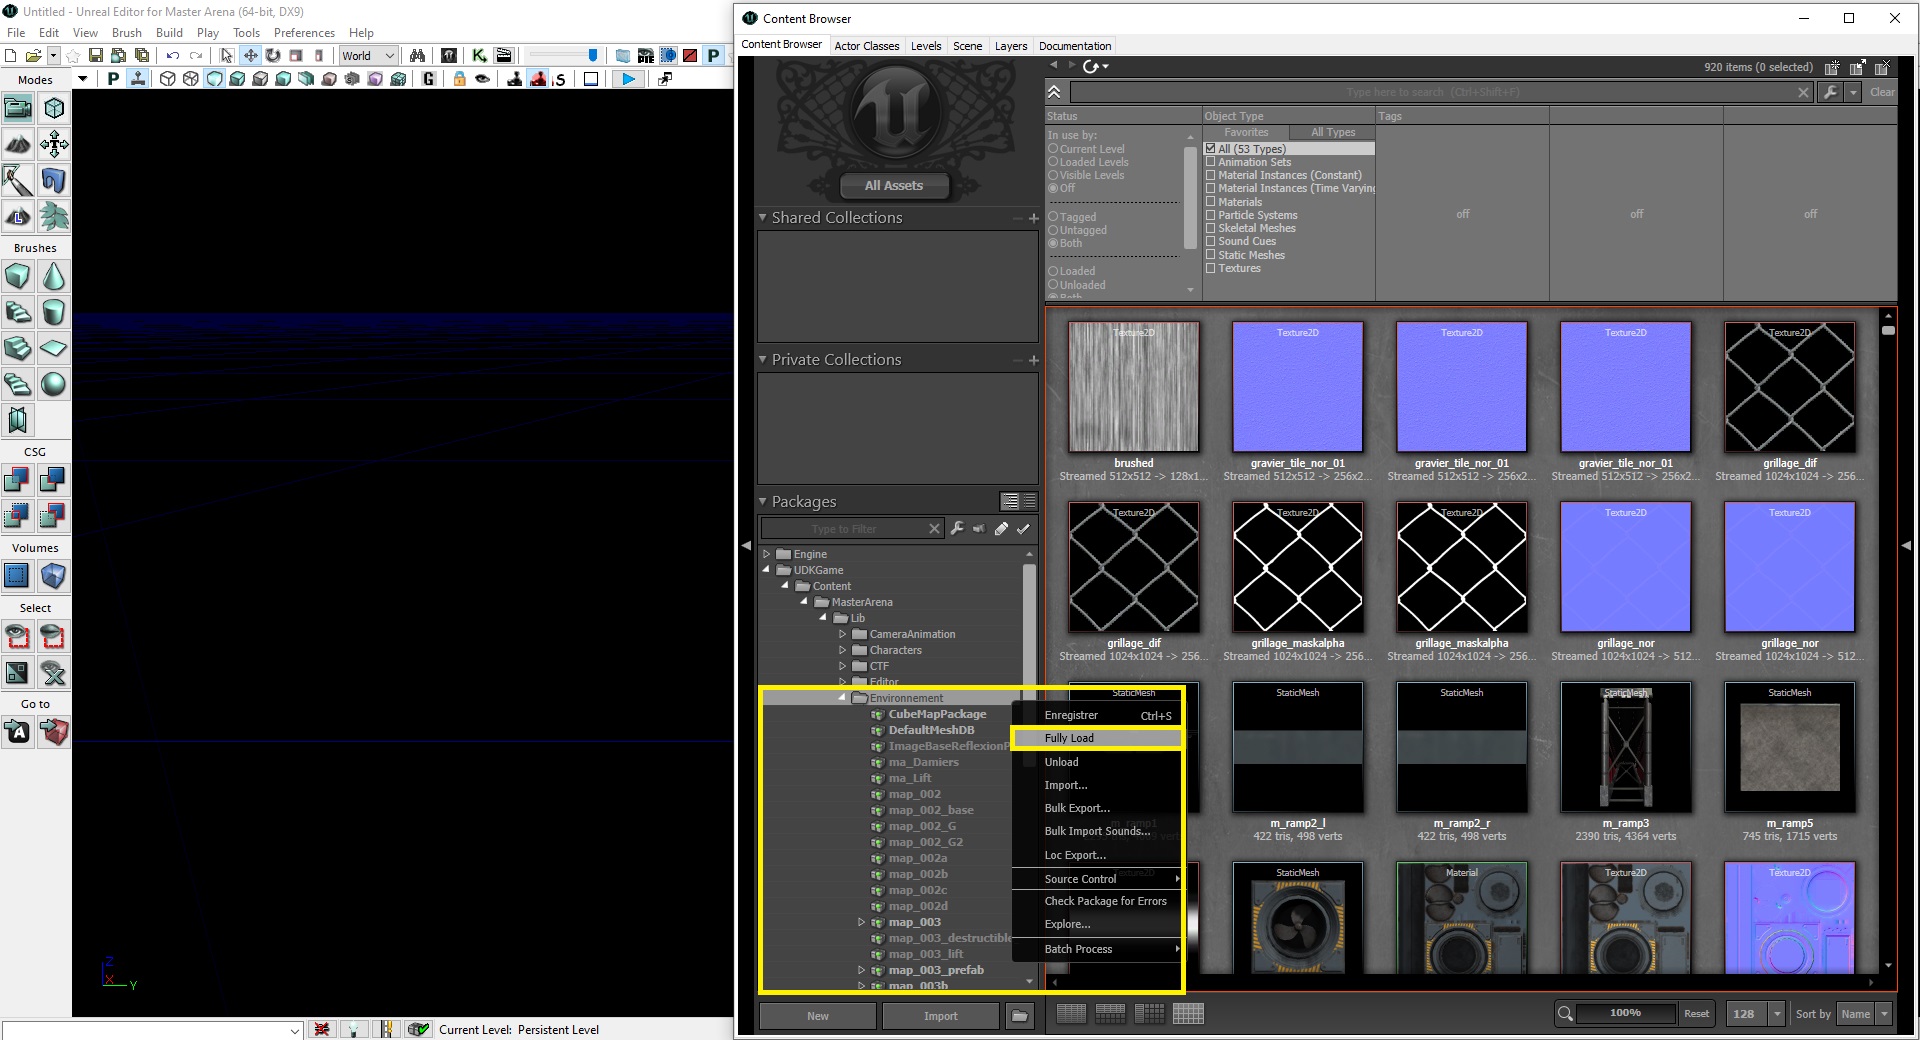
Once the “Content Browser” is open, expand “UDKGame > Content > MasterArena > Lib > Environnement“.
Right-click on Environnement and select “Fully Load“.
06
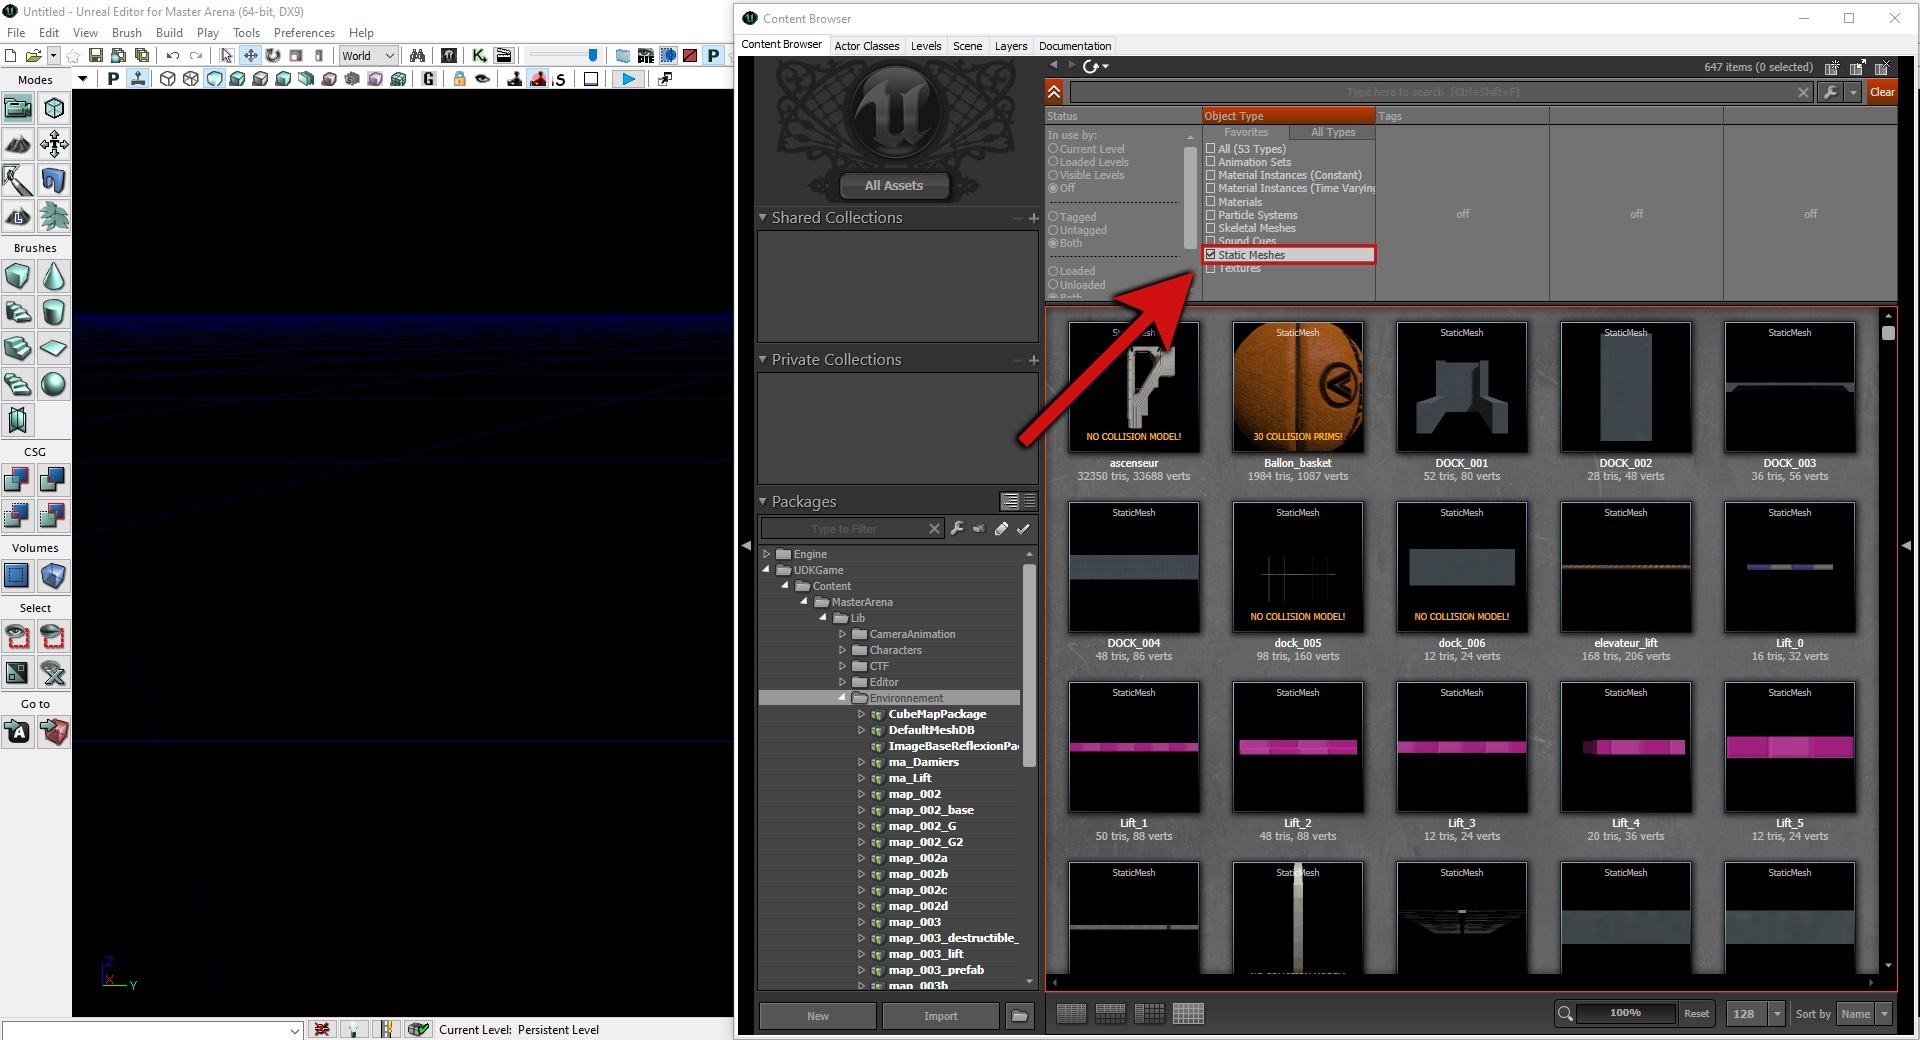
At this step, the content browser lists all assets: textures, materials, static meshes, particles system, etc.
In our case, we only want to list static meshes:
07
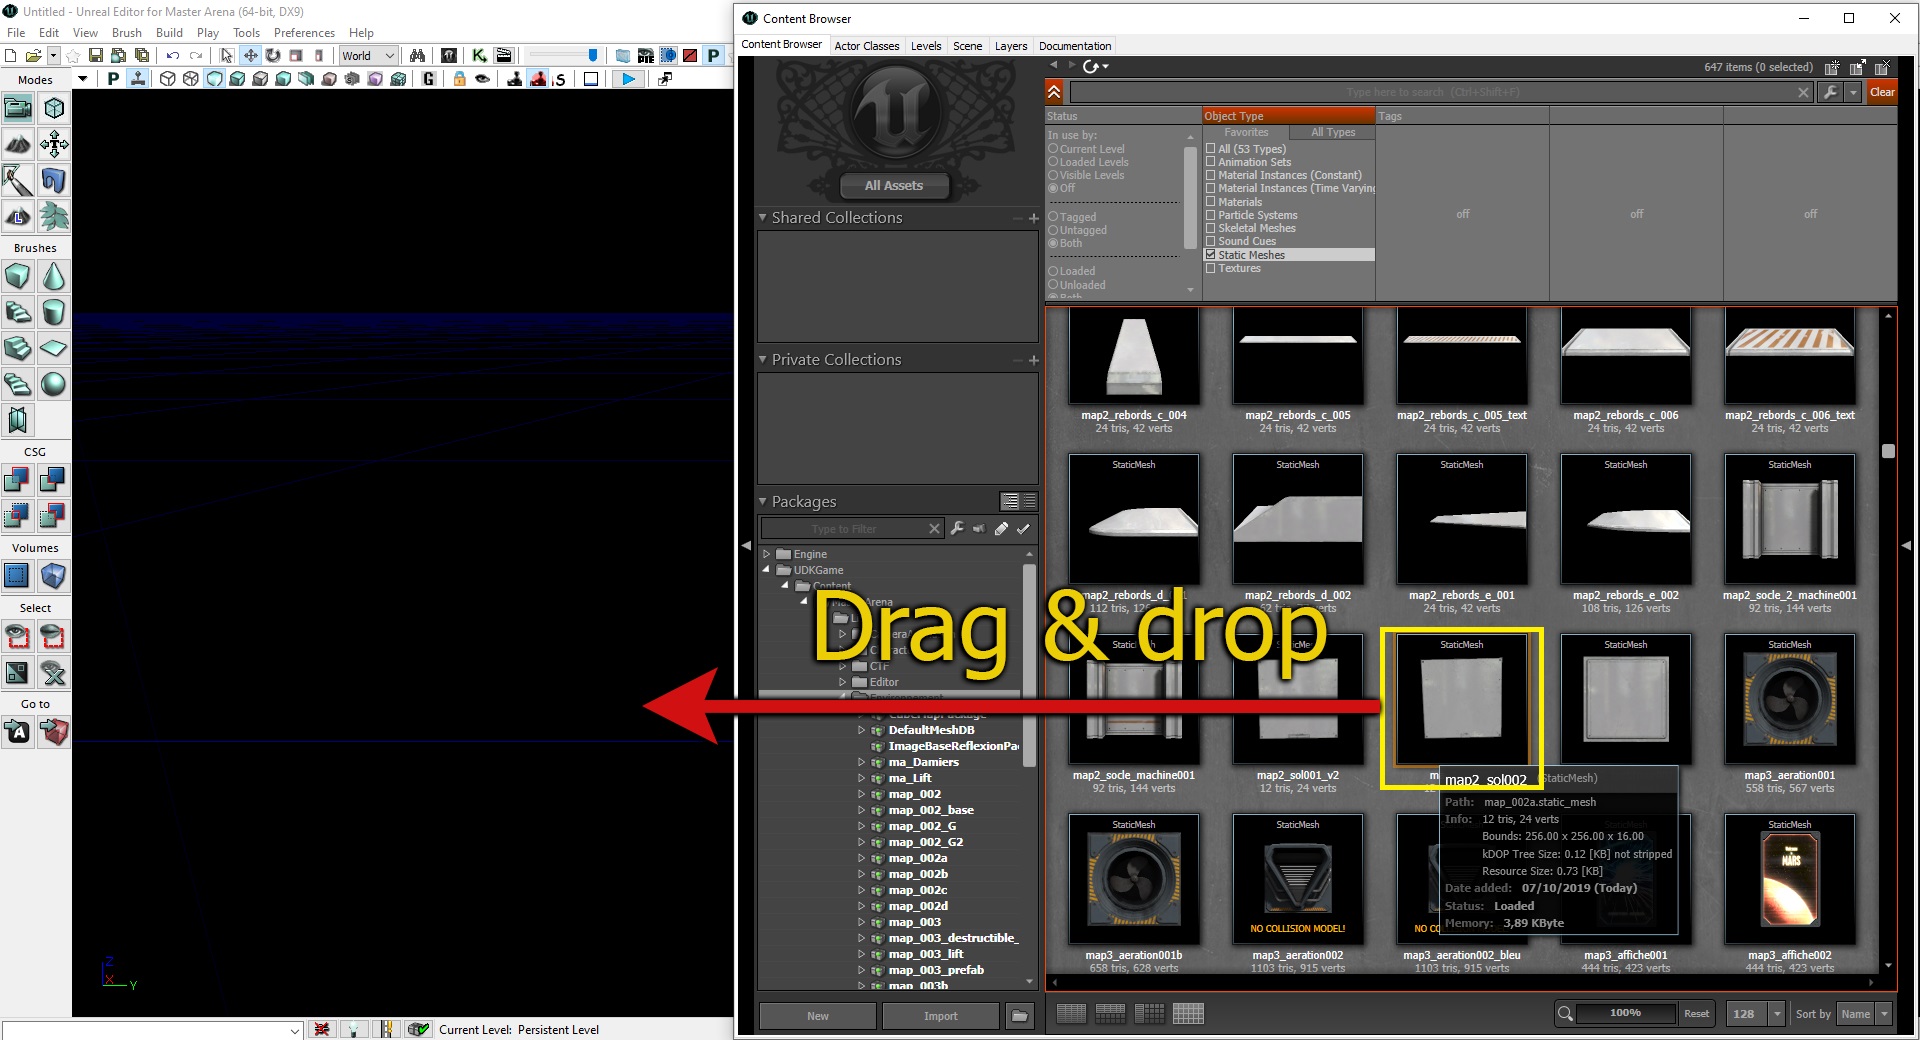
Now you can browse all our static meshes library. Select a ground and drag & drop it:
07
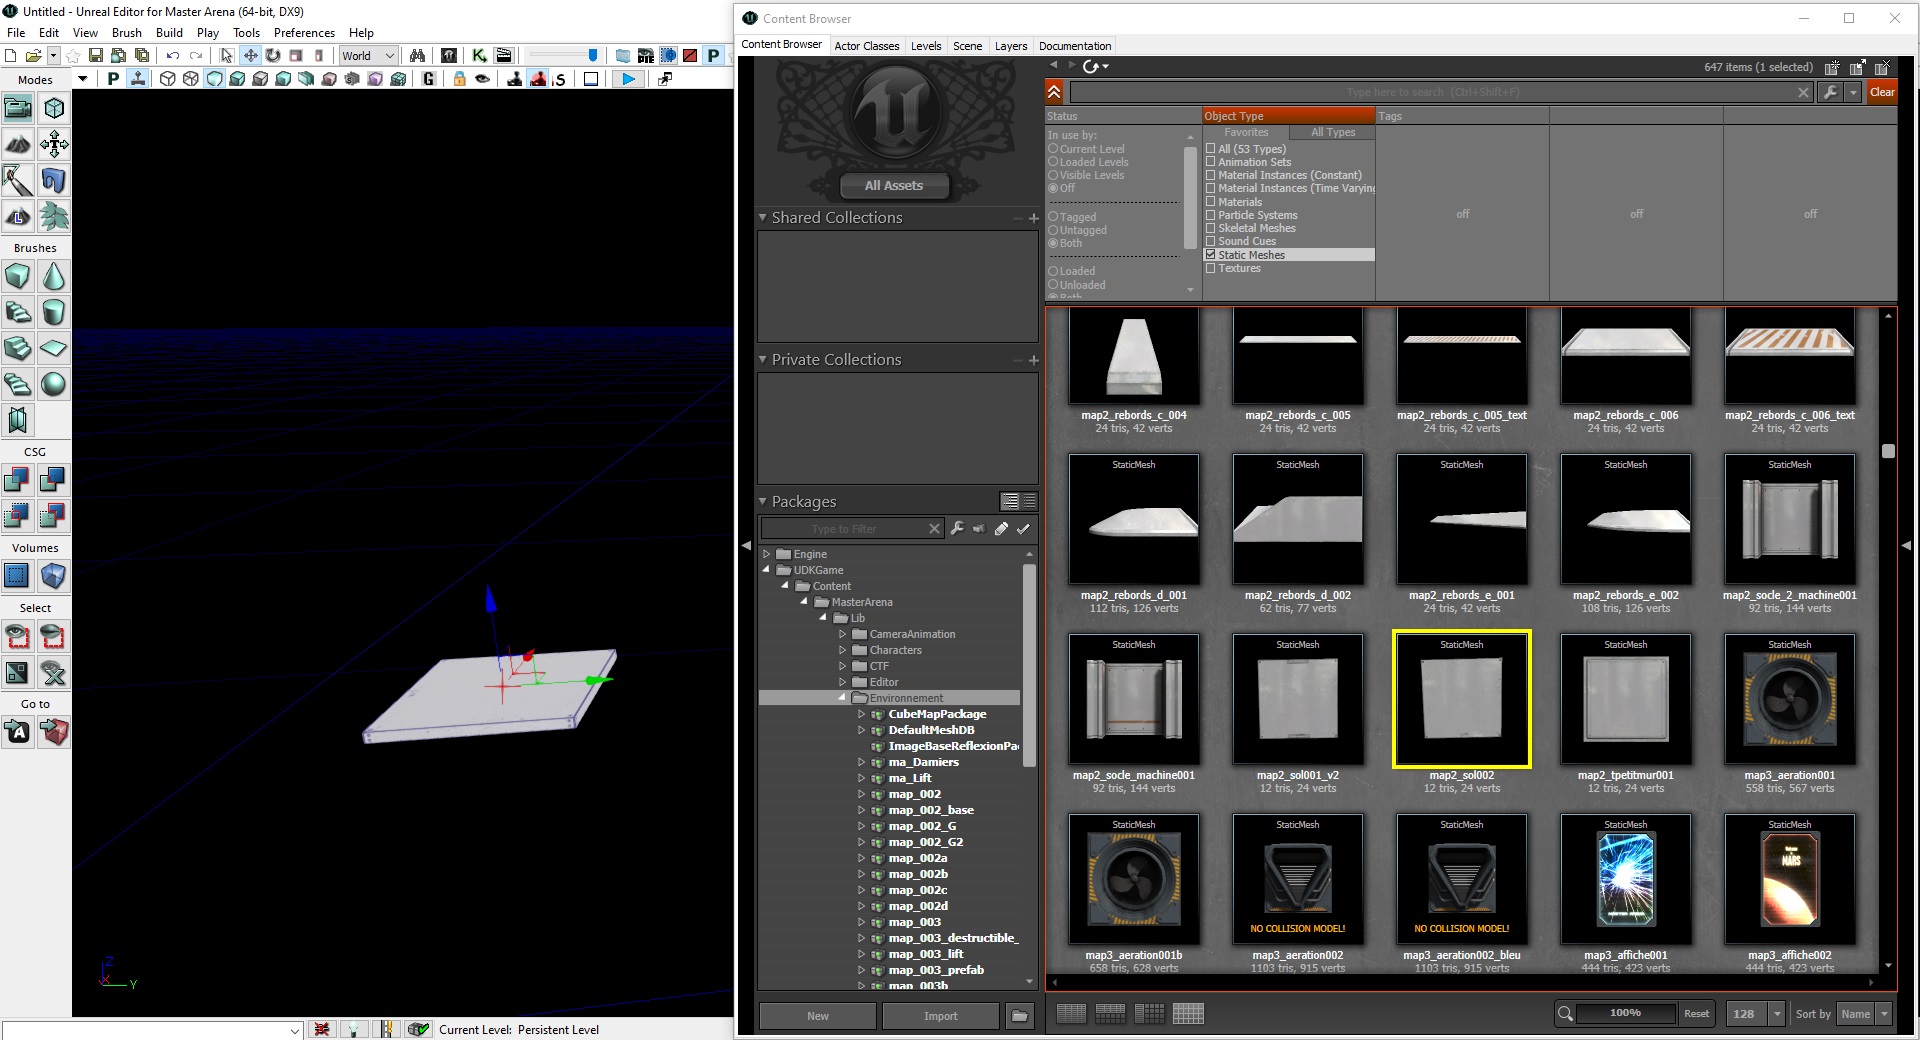
Here is the result:
08
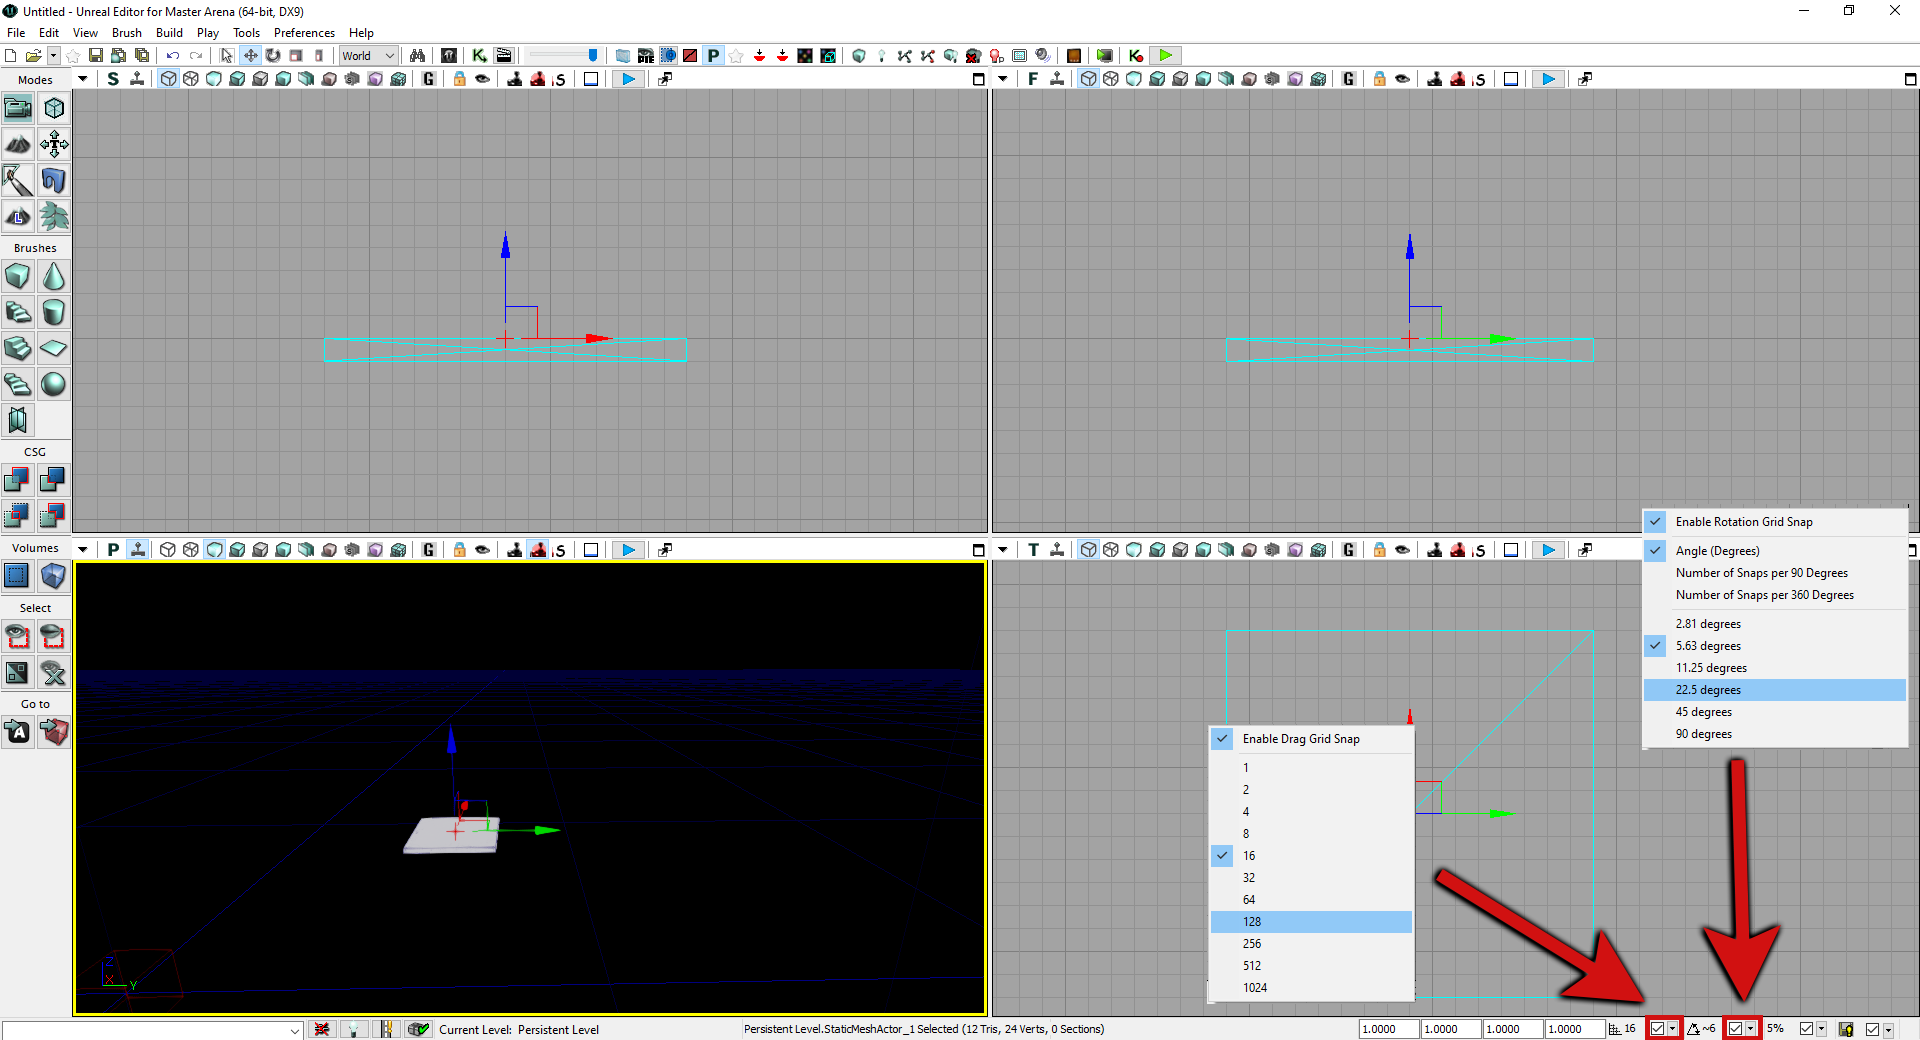
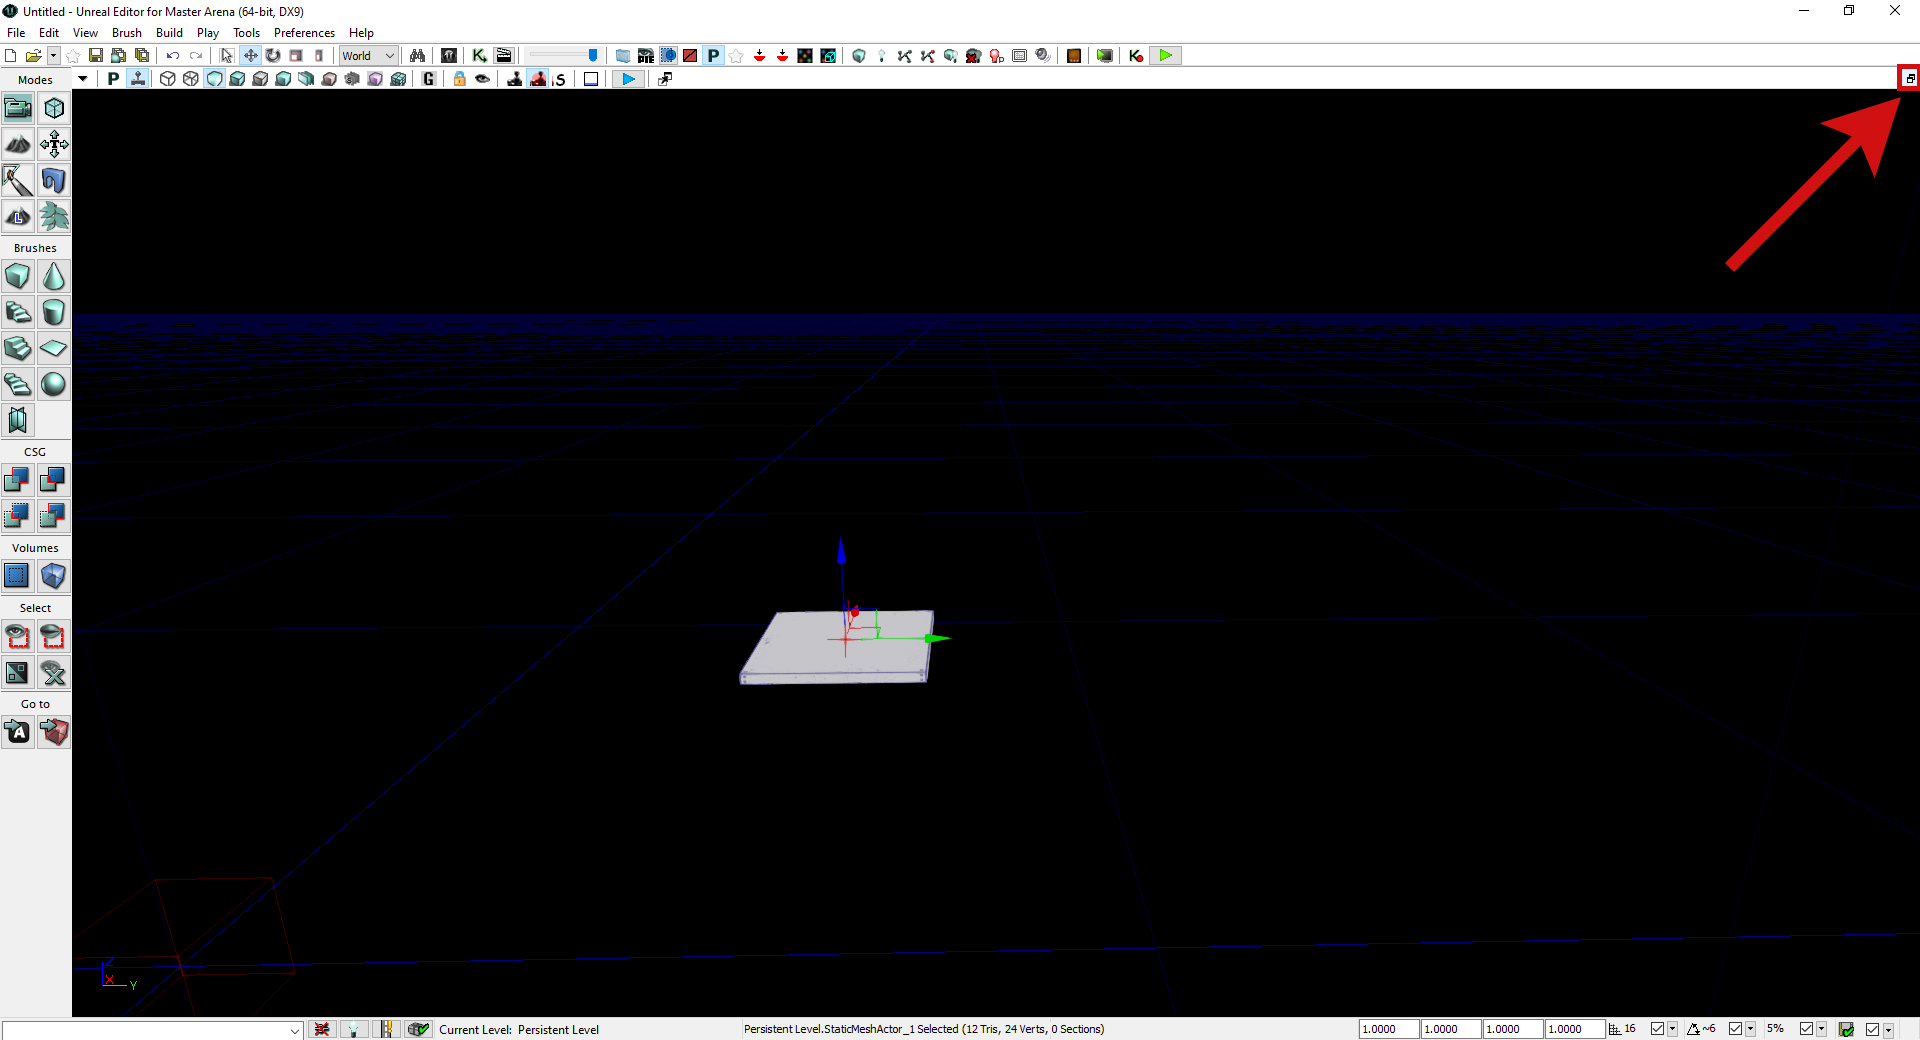
Close the content browser. Click on the top right to switch to multi-view mode:
08
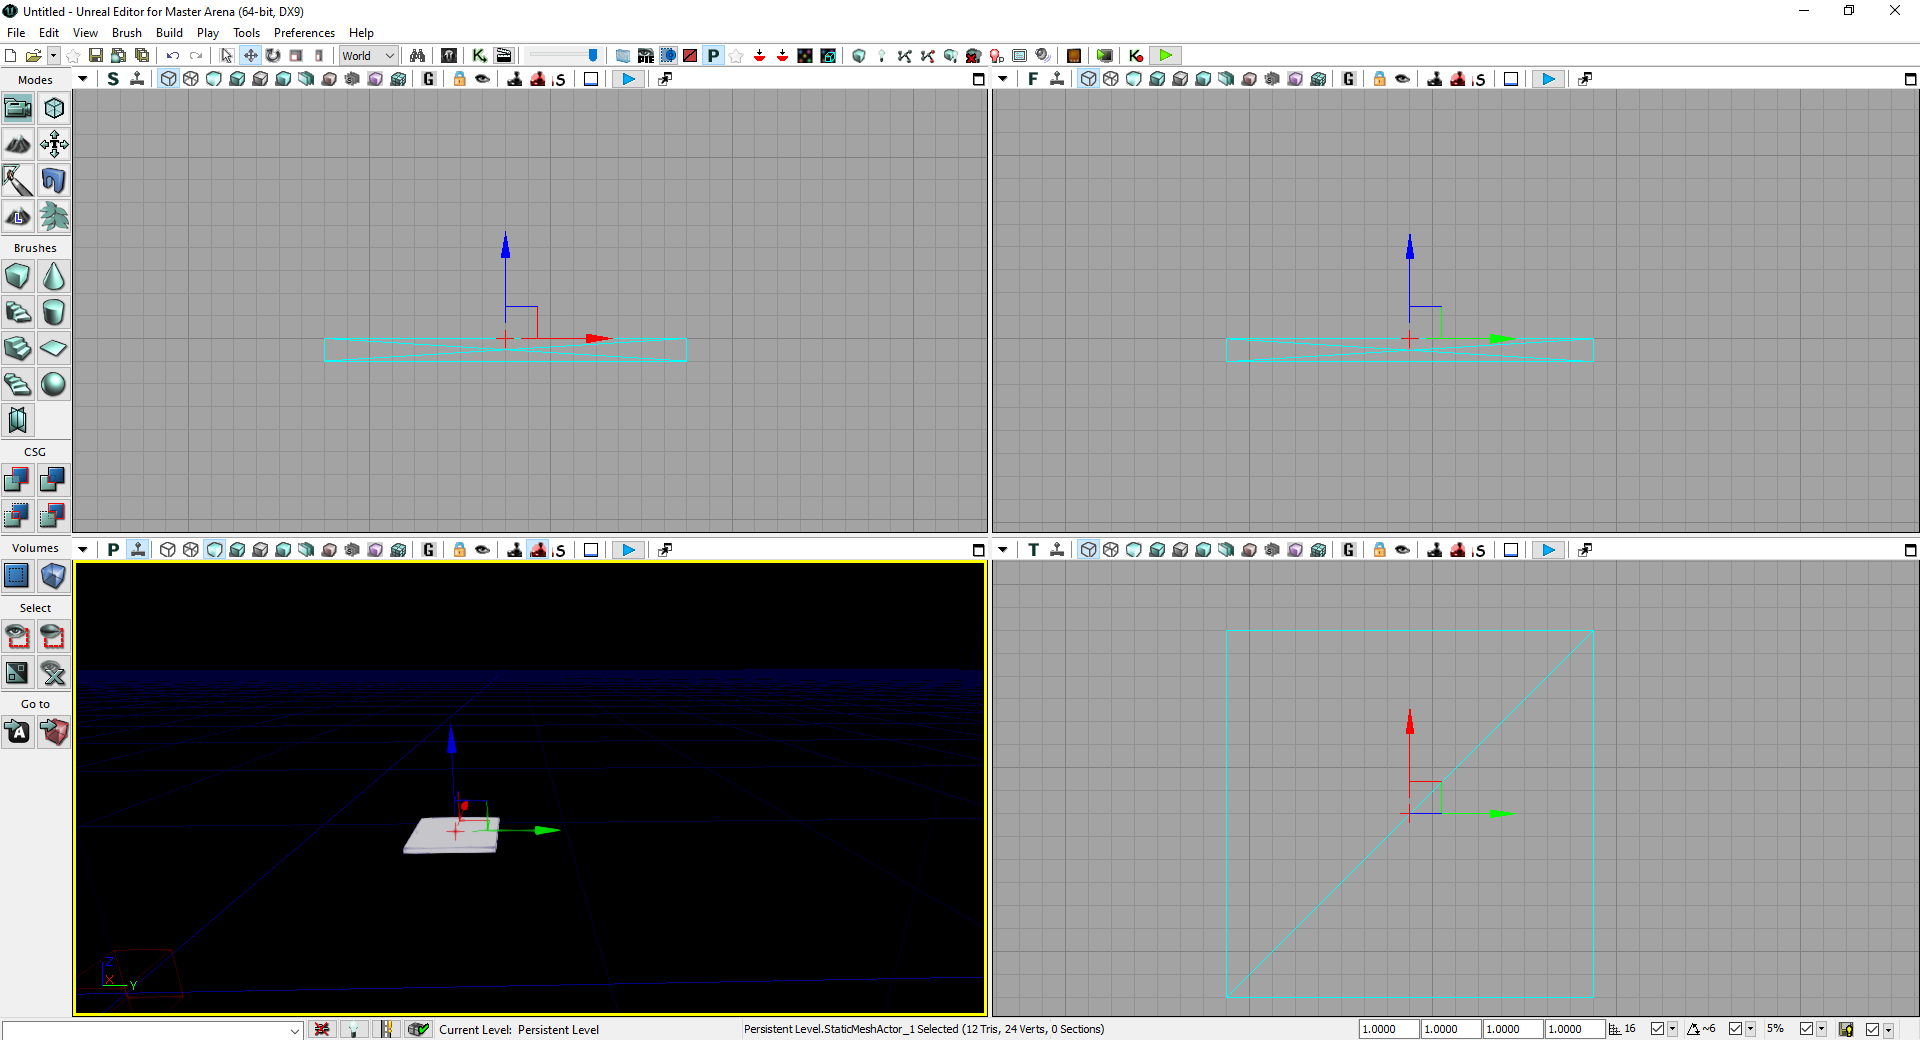
Here is the result:
Survival Tip #1
Camera and Navigation
- Left-click + move: you can move forward/backward or adjust your camera along the horizontal axes.
- Right-click + move: you can turn the camera in all angles.
- Left + Right + move: You can go up or down.
(In 2D views, use Left or Right click + move to adjust your position and both click + move to zoom in and zoom out)
Survival Tip #3
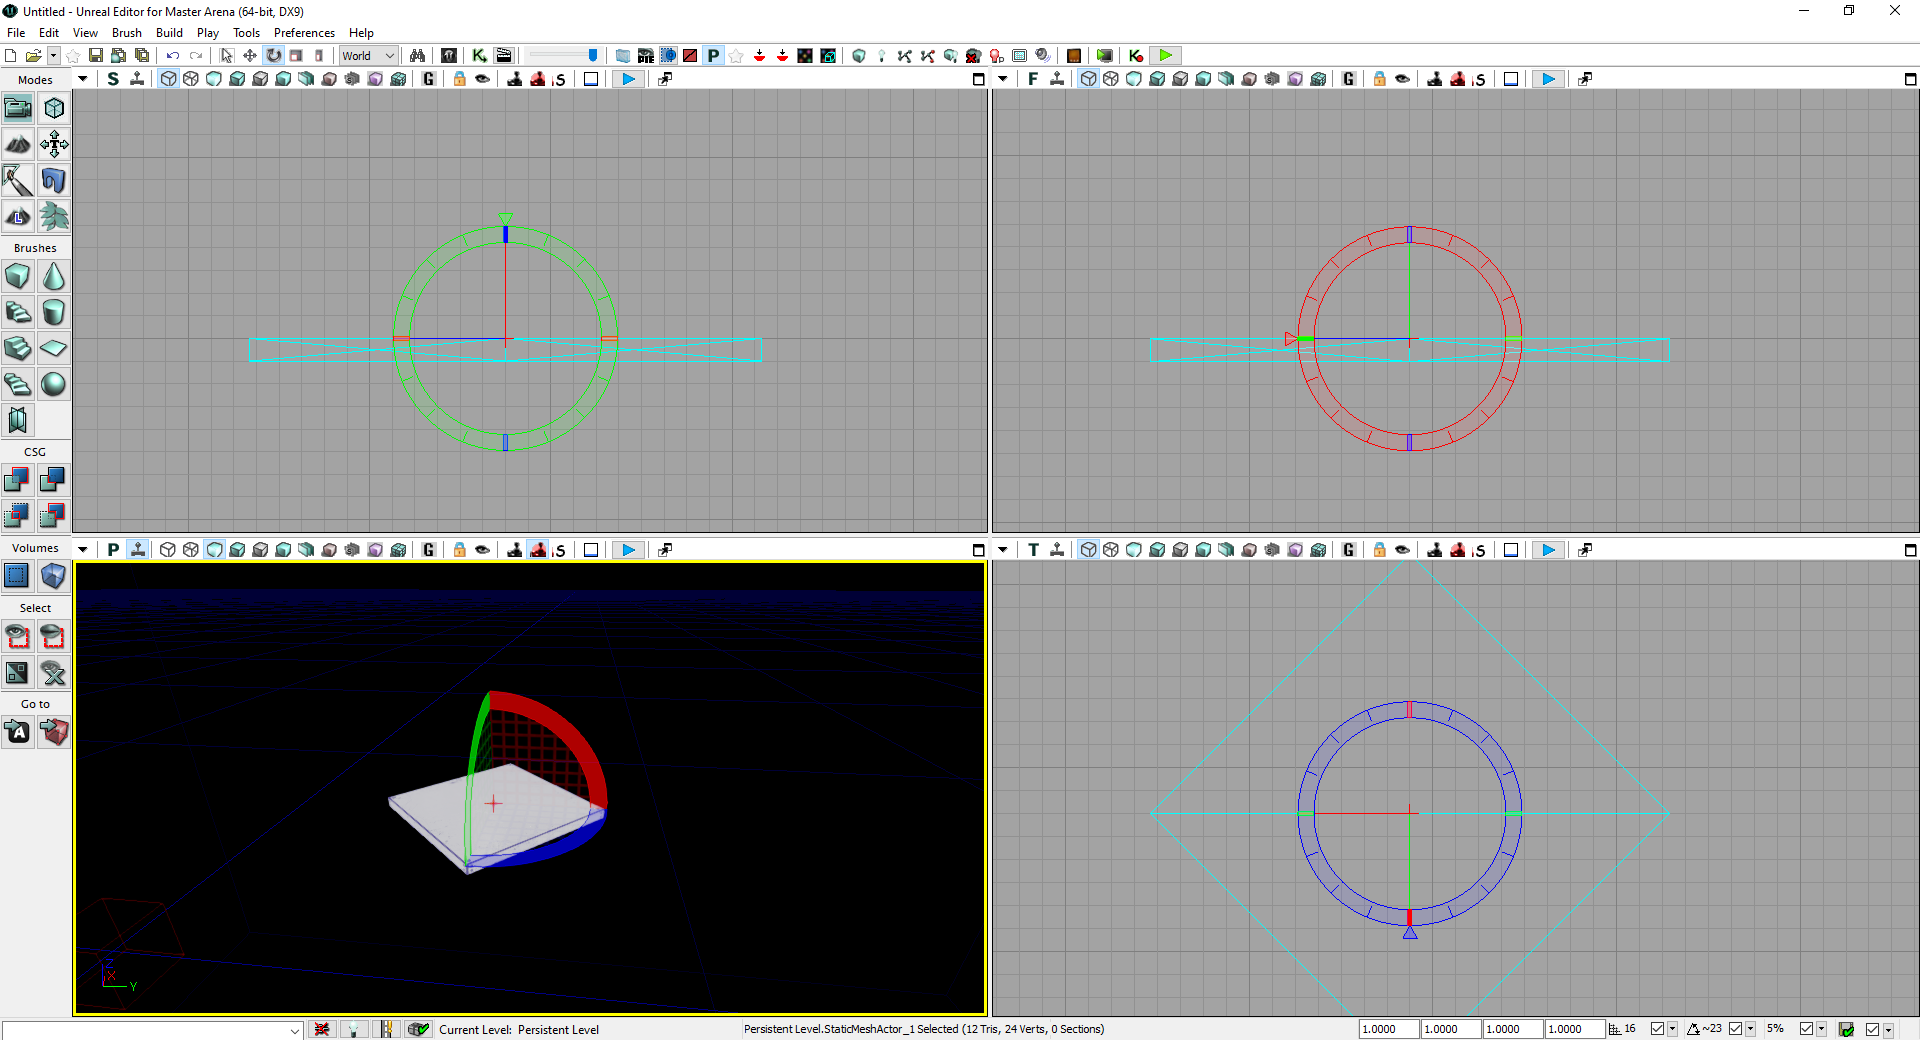
Rotation: If you press “Space bar” on your keyboard, you will switch to rotate mode:
Survival Tip #4
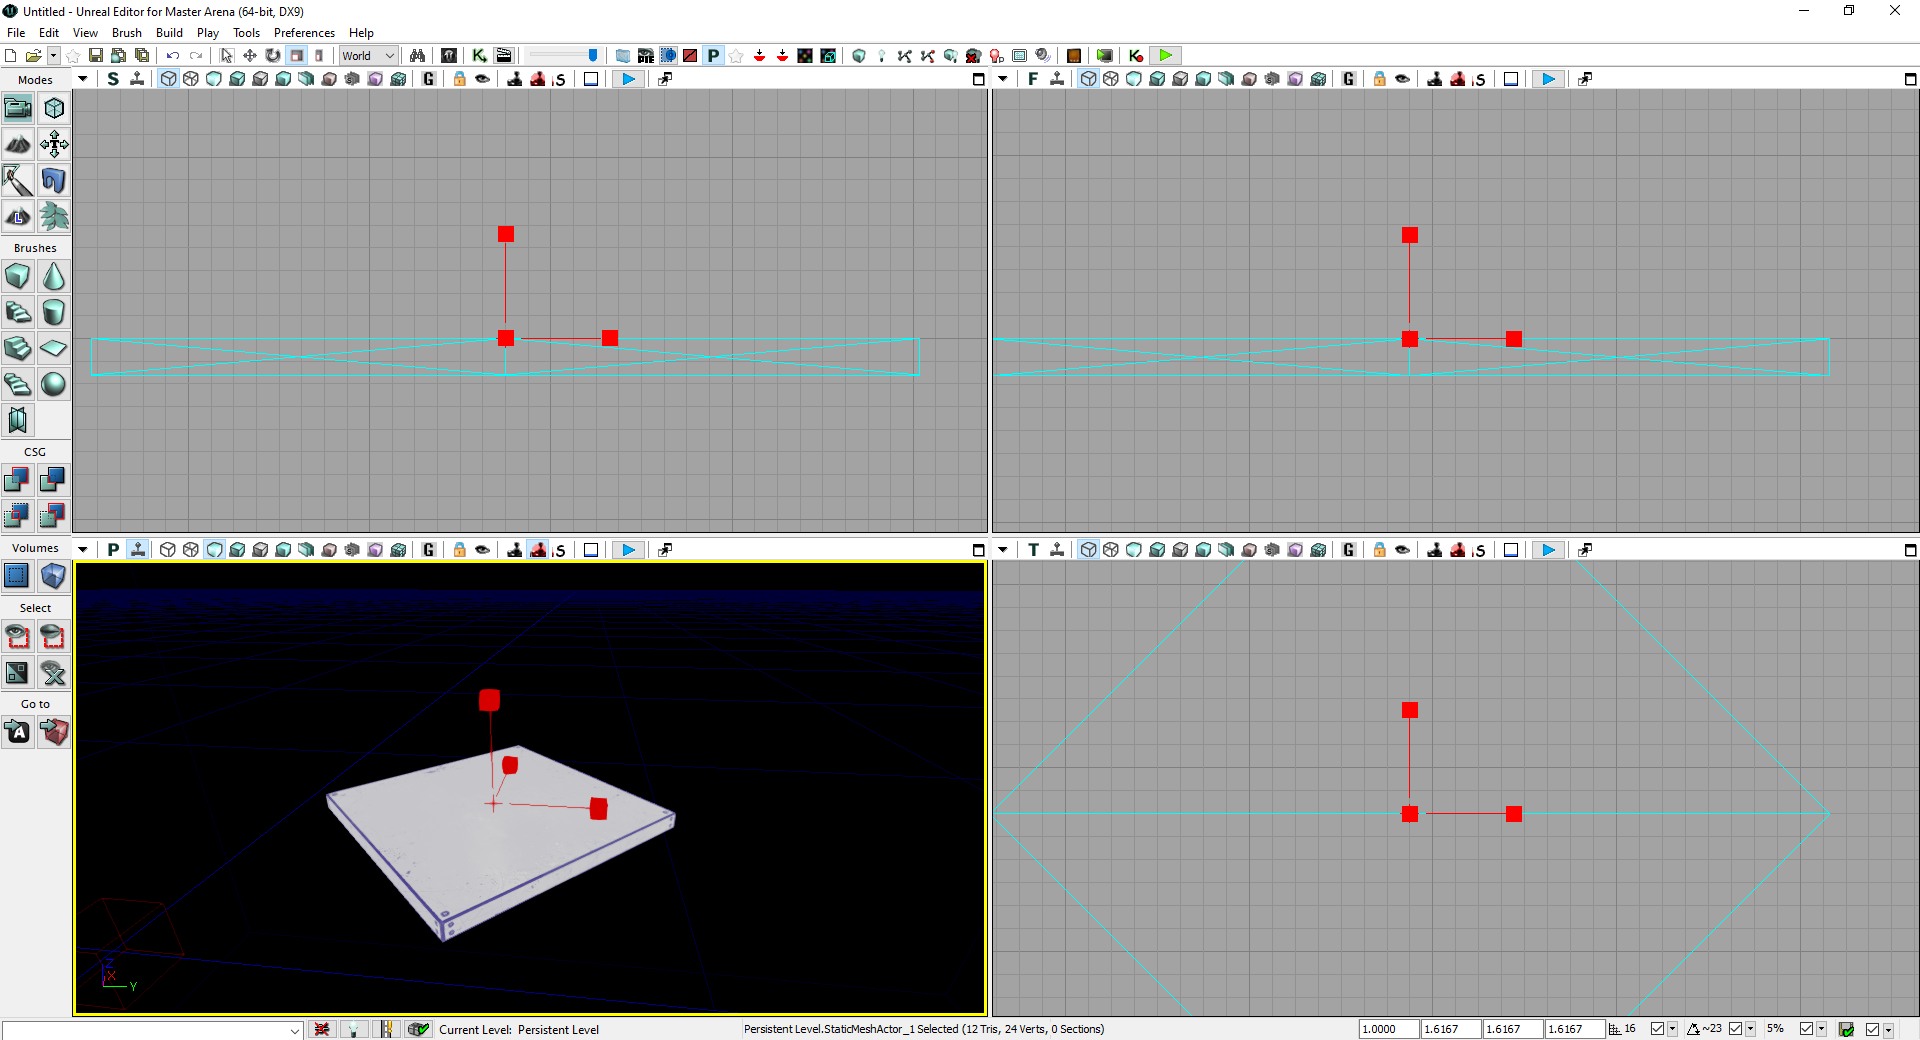
Scale: If you press “Space bar” once more, you will switch to scale mode:
Survival Tip #5
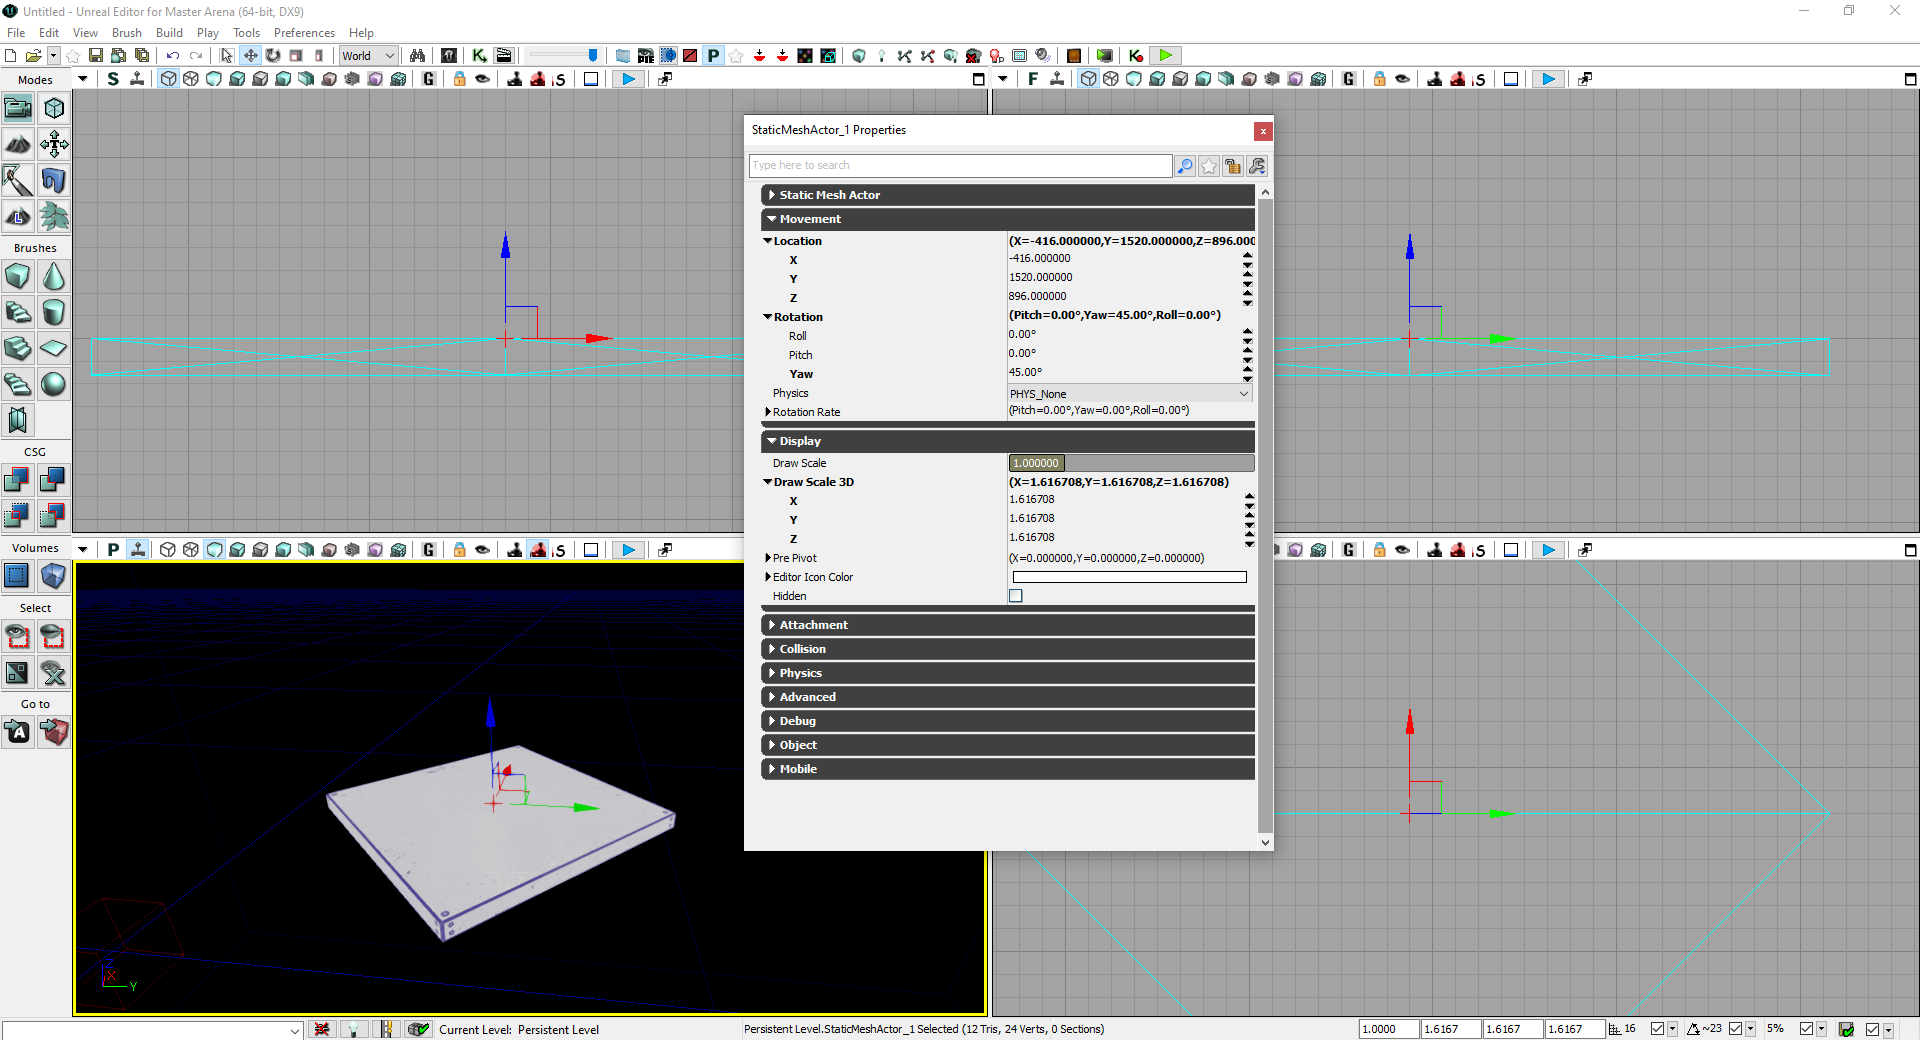
By pressing “F4” or double-clicking on the static mesh, you can open its properties.
09
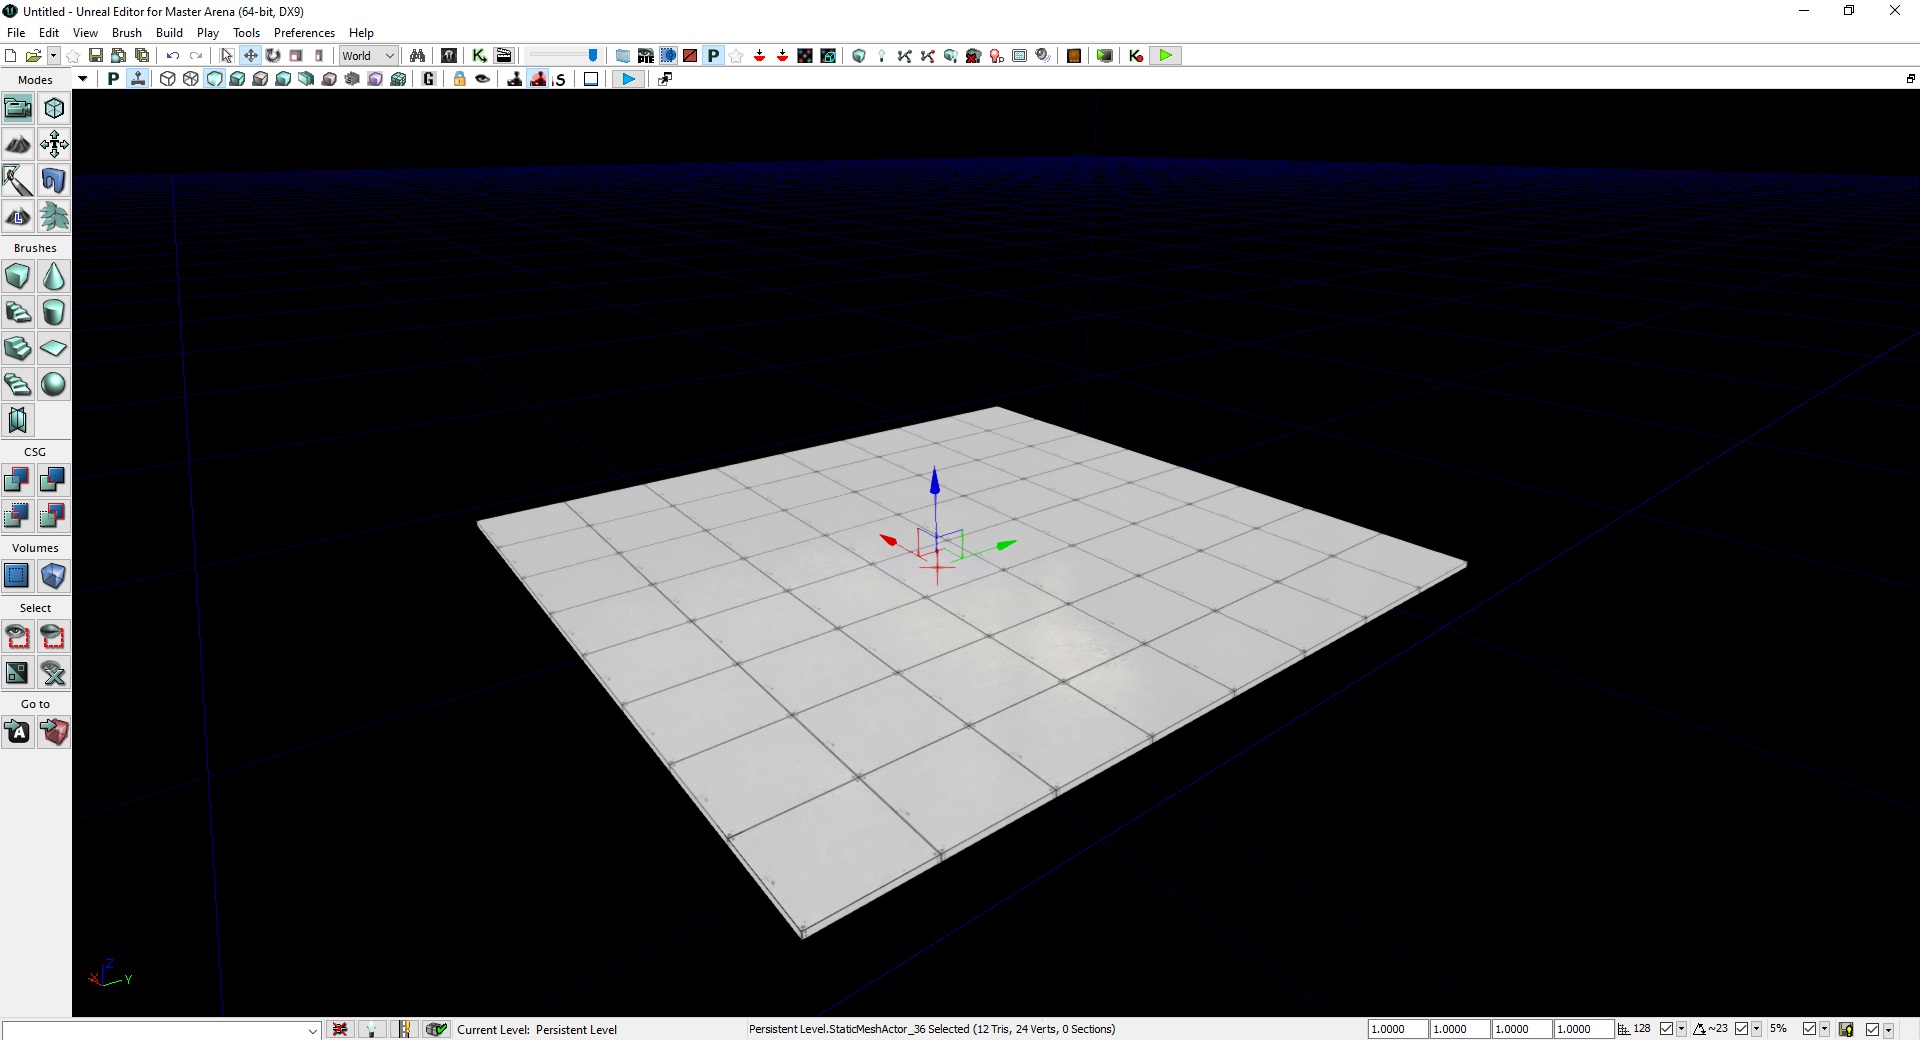
Ok, we are ready to create the floor. Reset your static mesh rotation and do some copy/paste to create the ground as below:
10
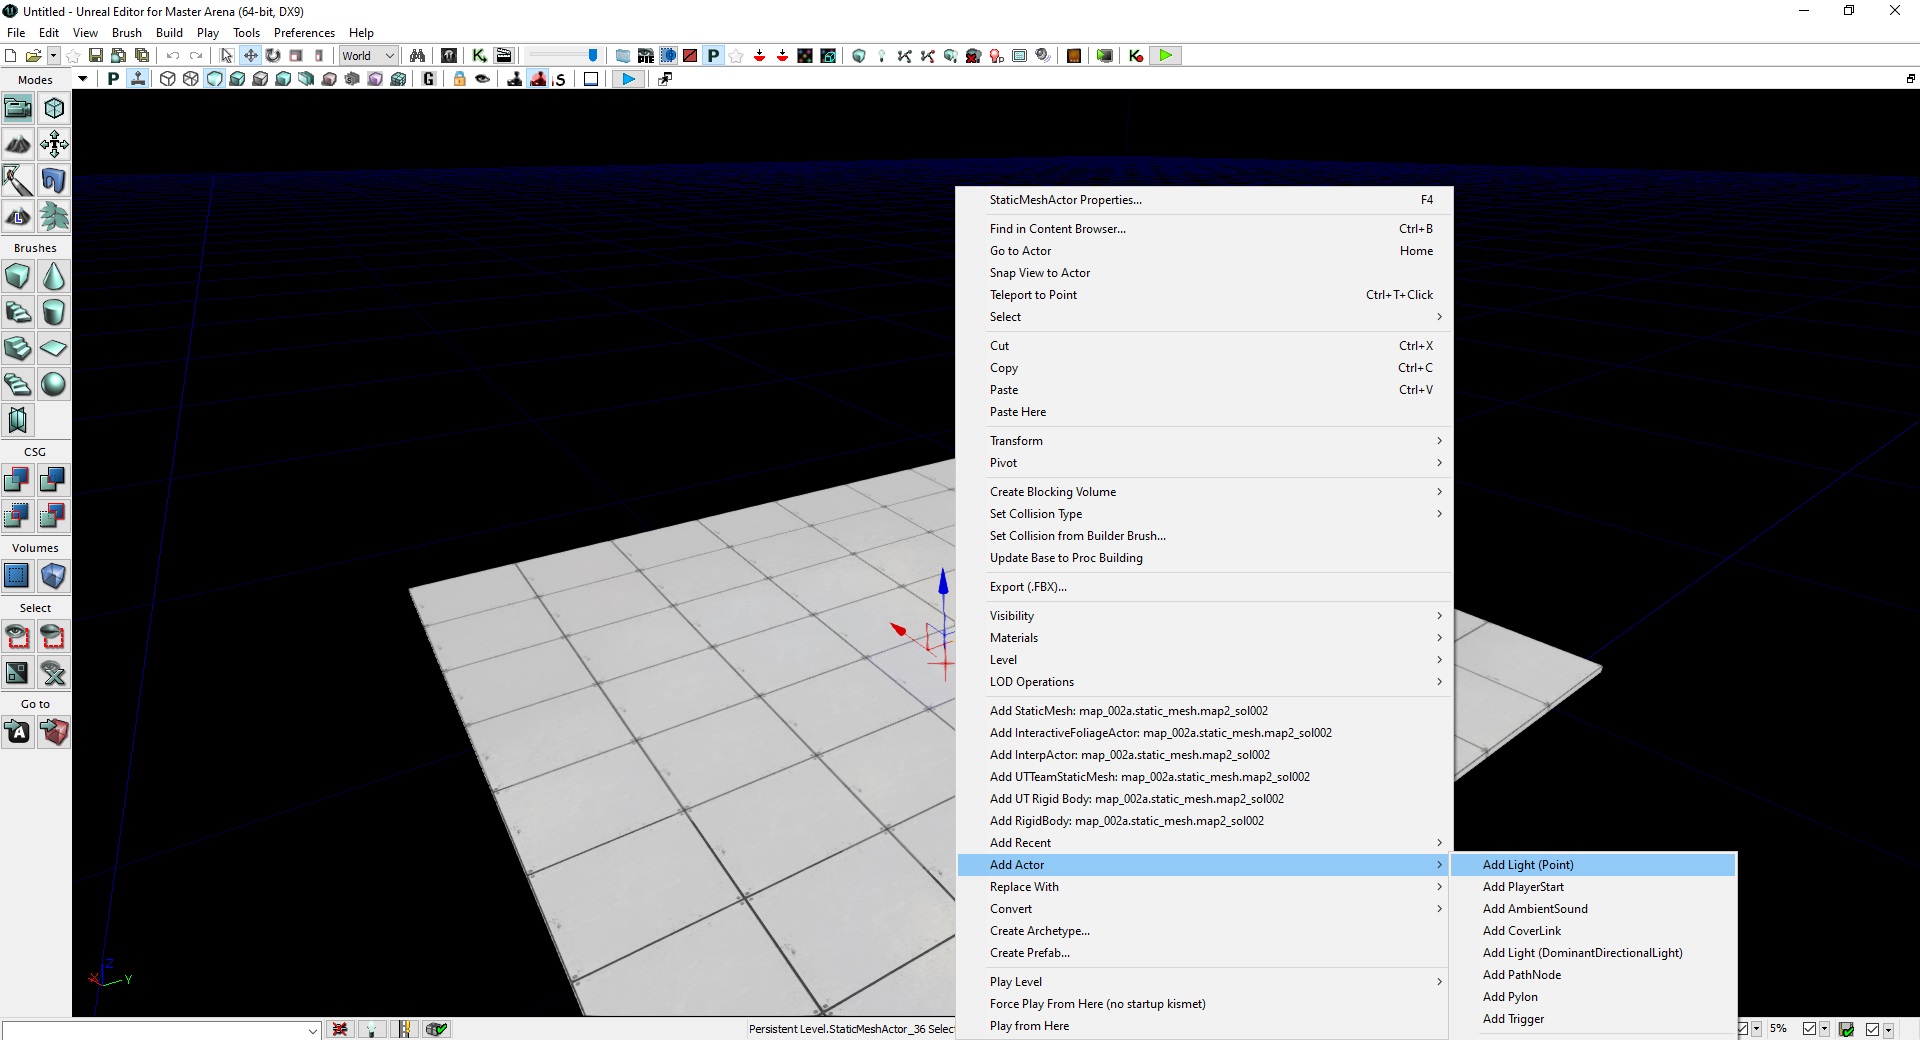
Once it is done, you need to add light. Without it, your map will be totally black. So, press “right click” on a mesh and select “Add actor” > “Add Light (Point)“:
11
Place the light using the arrows. You can scale it by using space bar or directly from its properties:
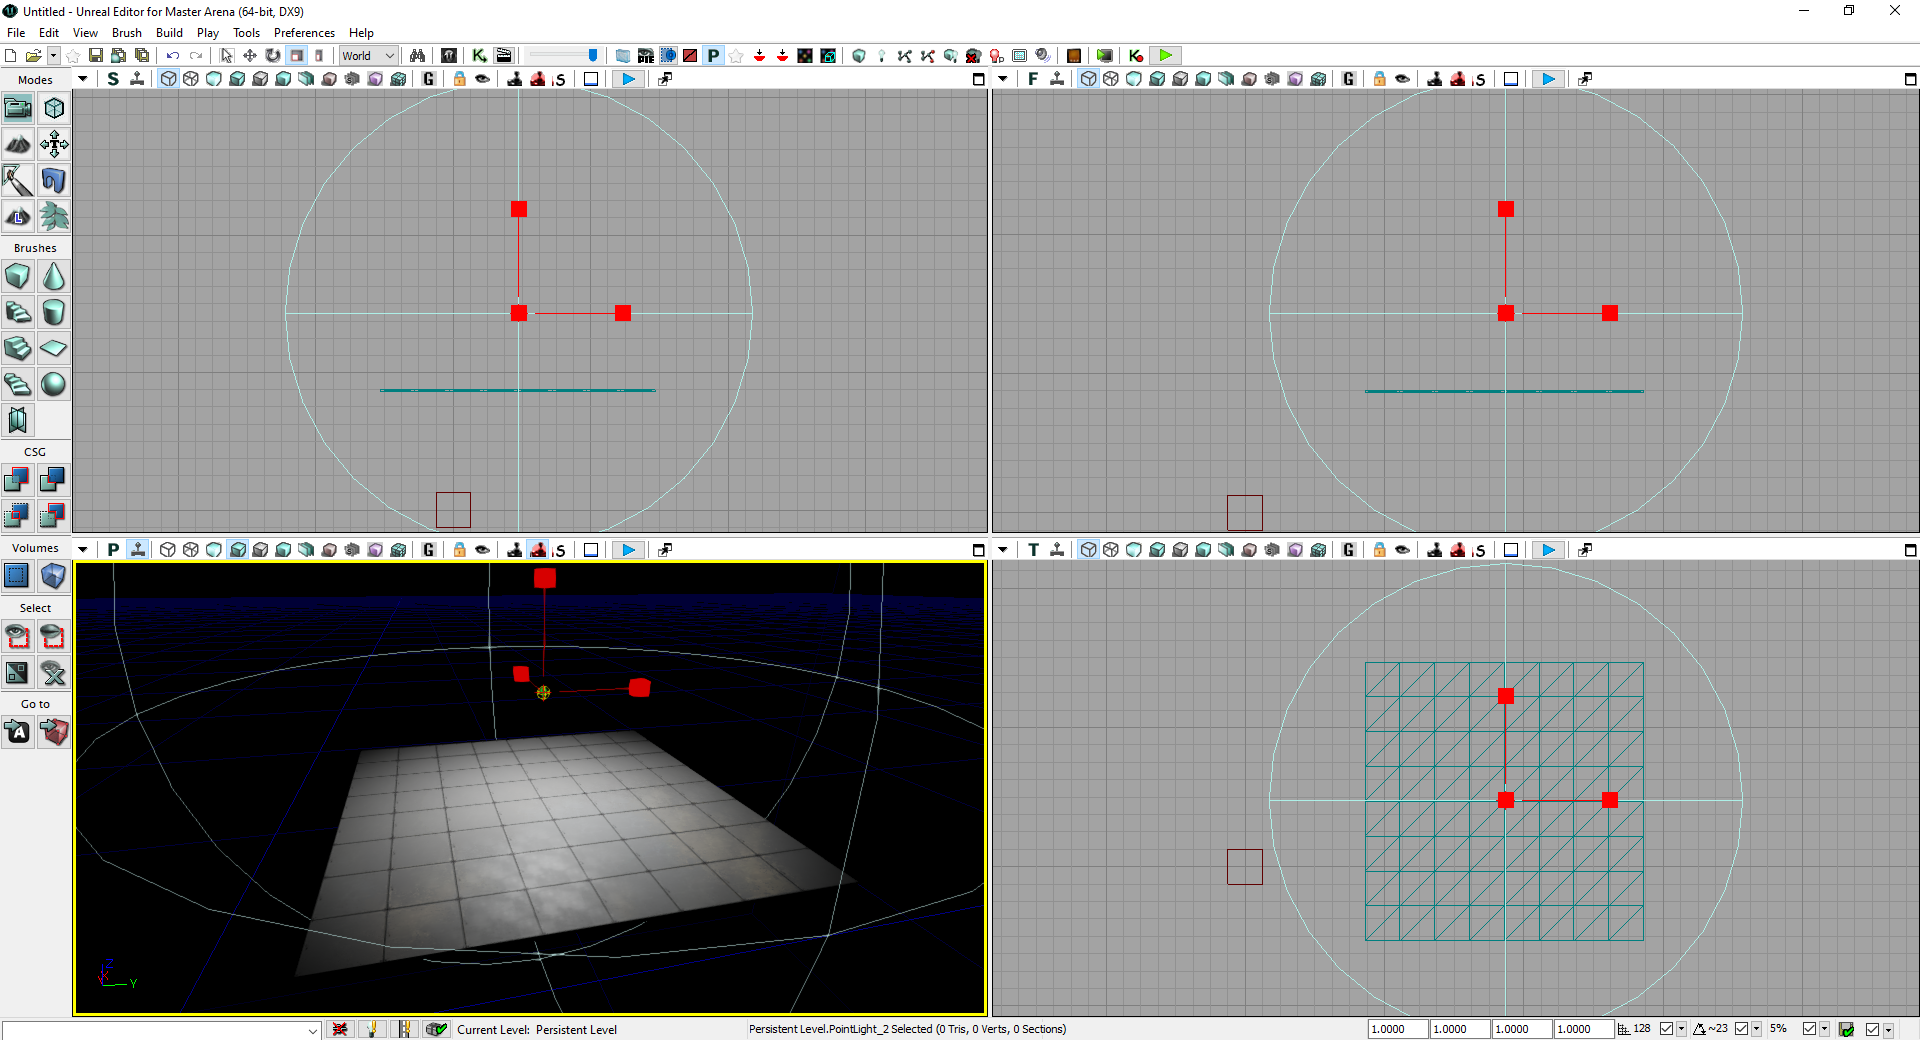
12
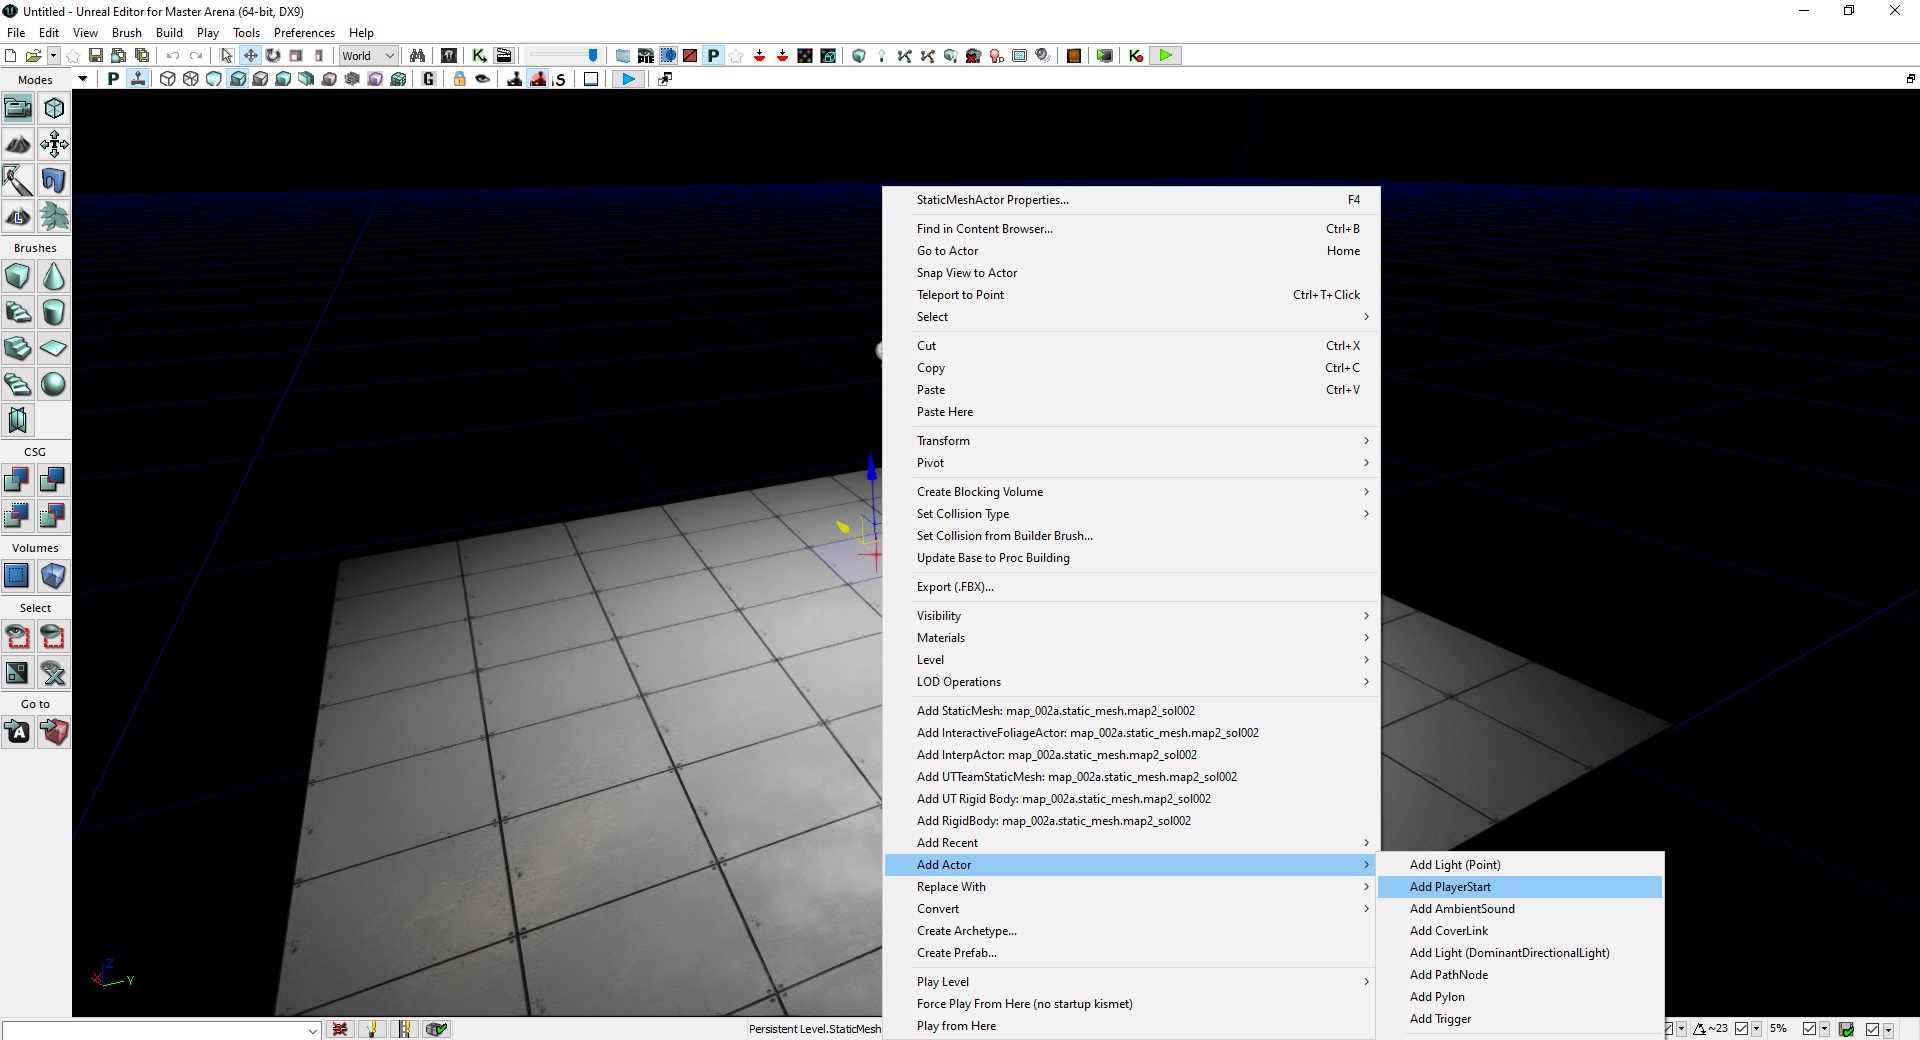
For your map to be playable, you are going to need to add a Player Start. Same process as a light, “Right-click > Add Actor > Add PlayerStart“:
12
An important point about the PlayerStart, is its rotation. It determines your spawn orientation:
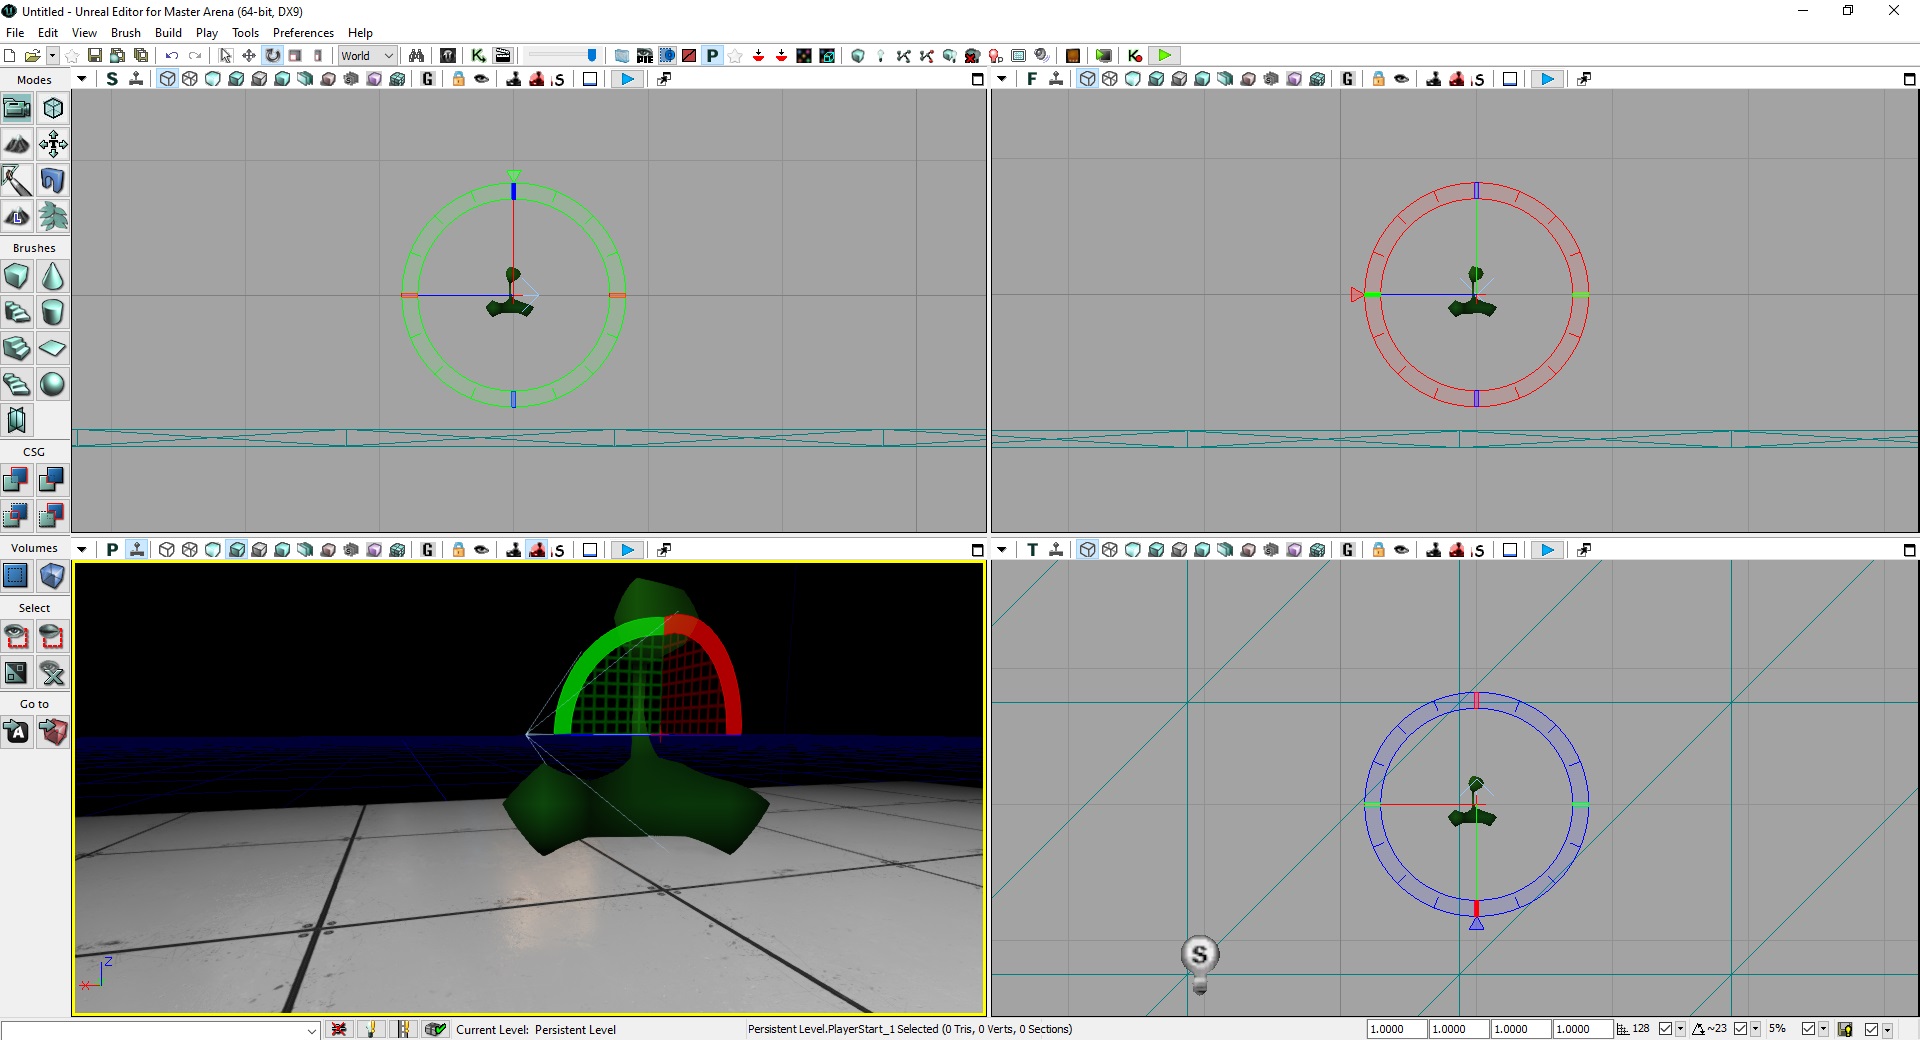
13
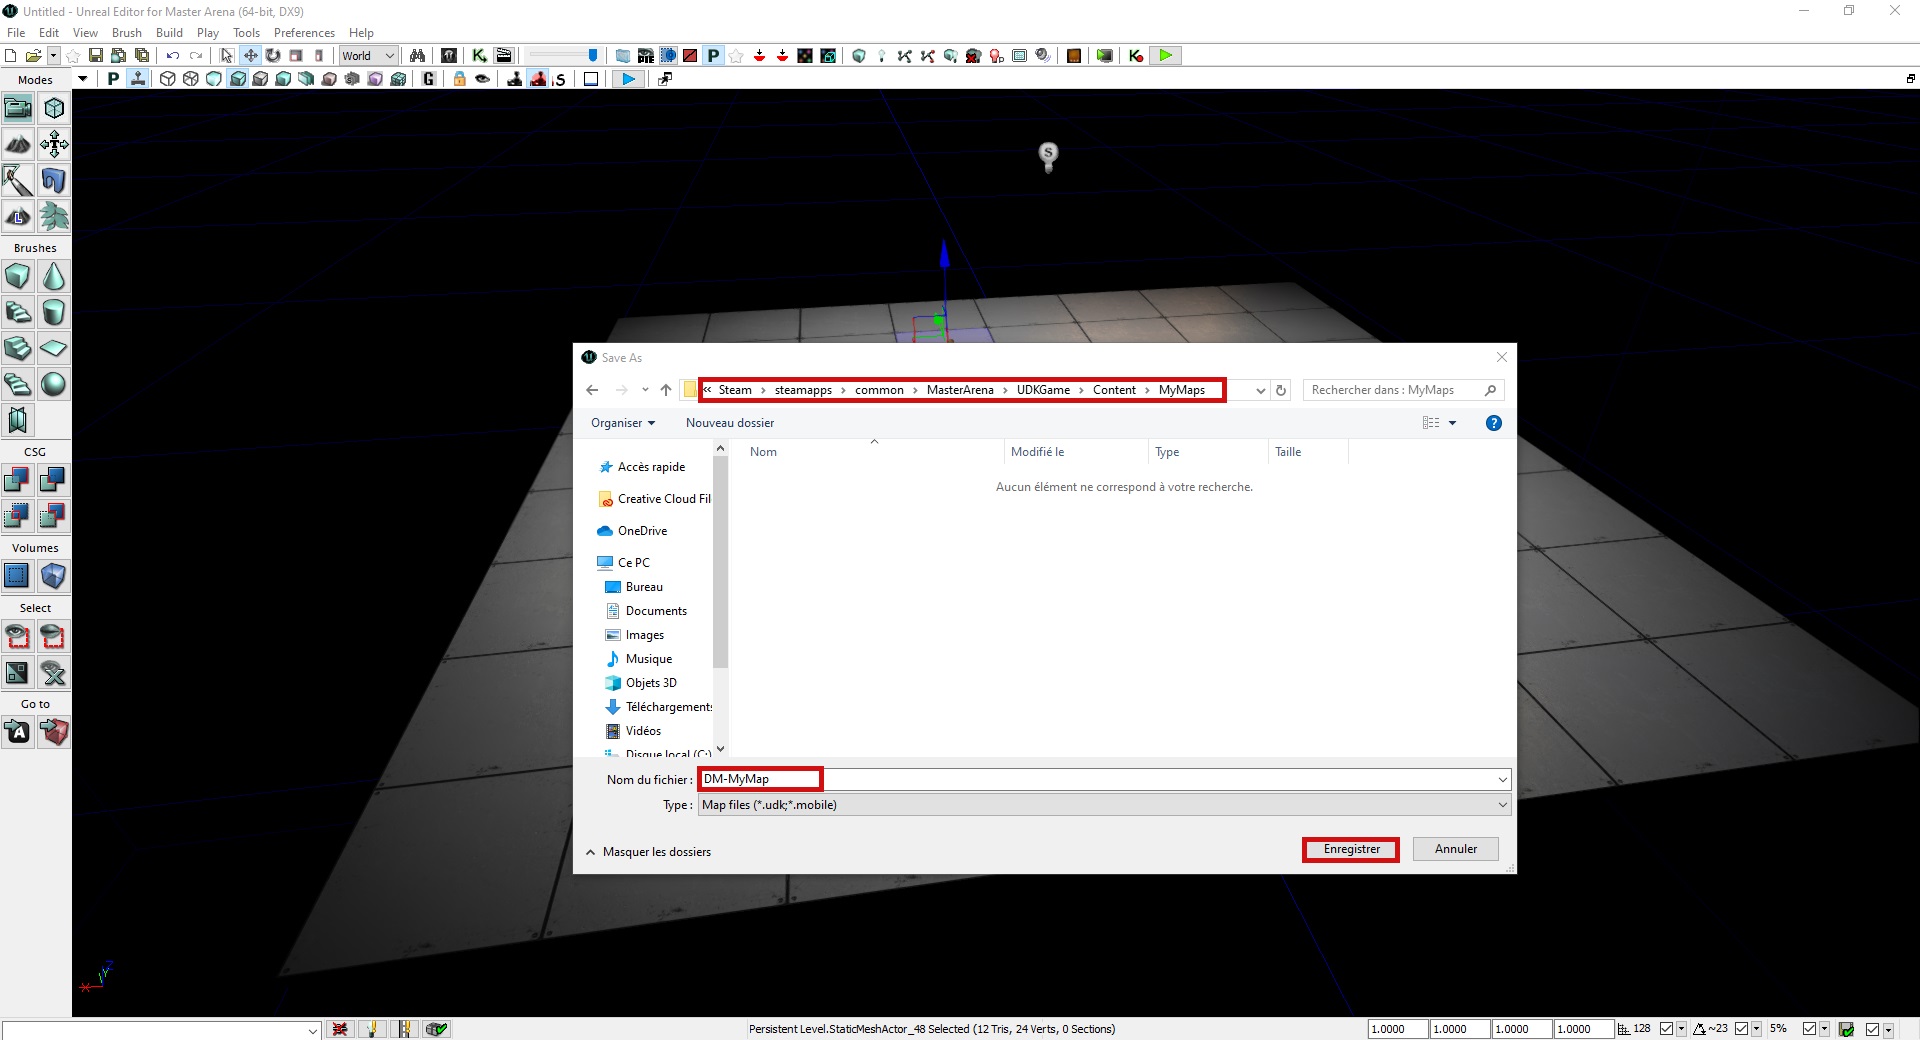
OK! Your map is ready! Don’t forget to save it. Please, save it inside \MasterArena\UDKGame\Content\ folder like in the example (you will need to create a folder named “MyMaps”)
14
You can test your map by clicking “Play” button:
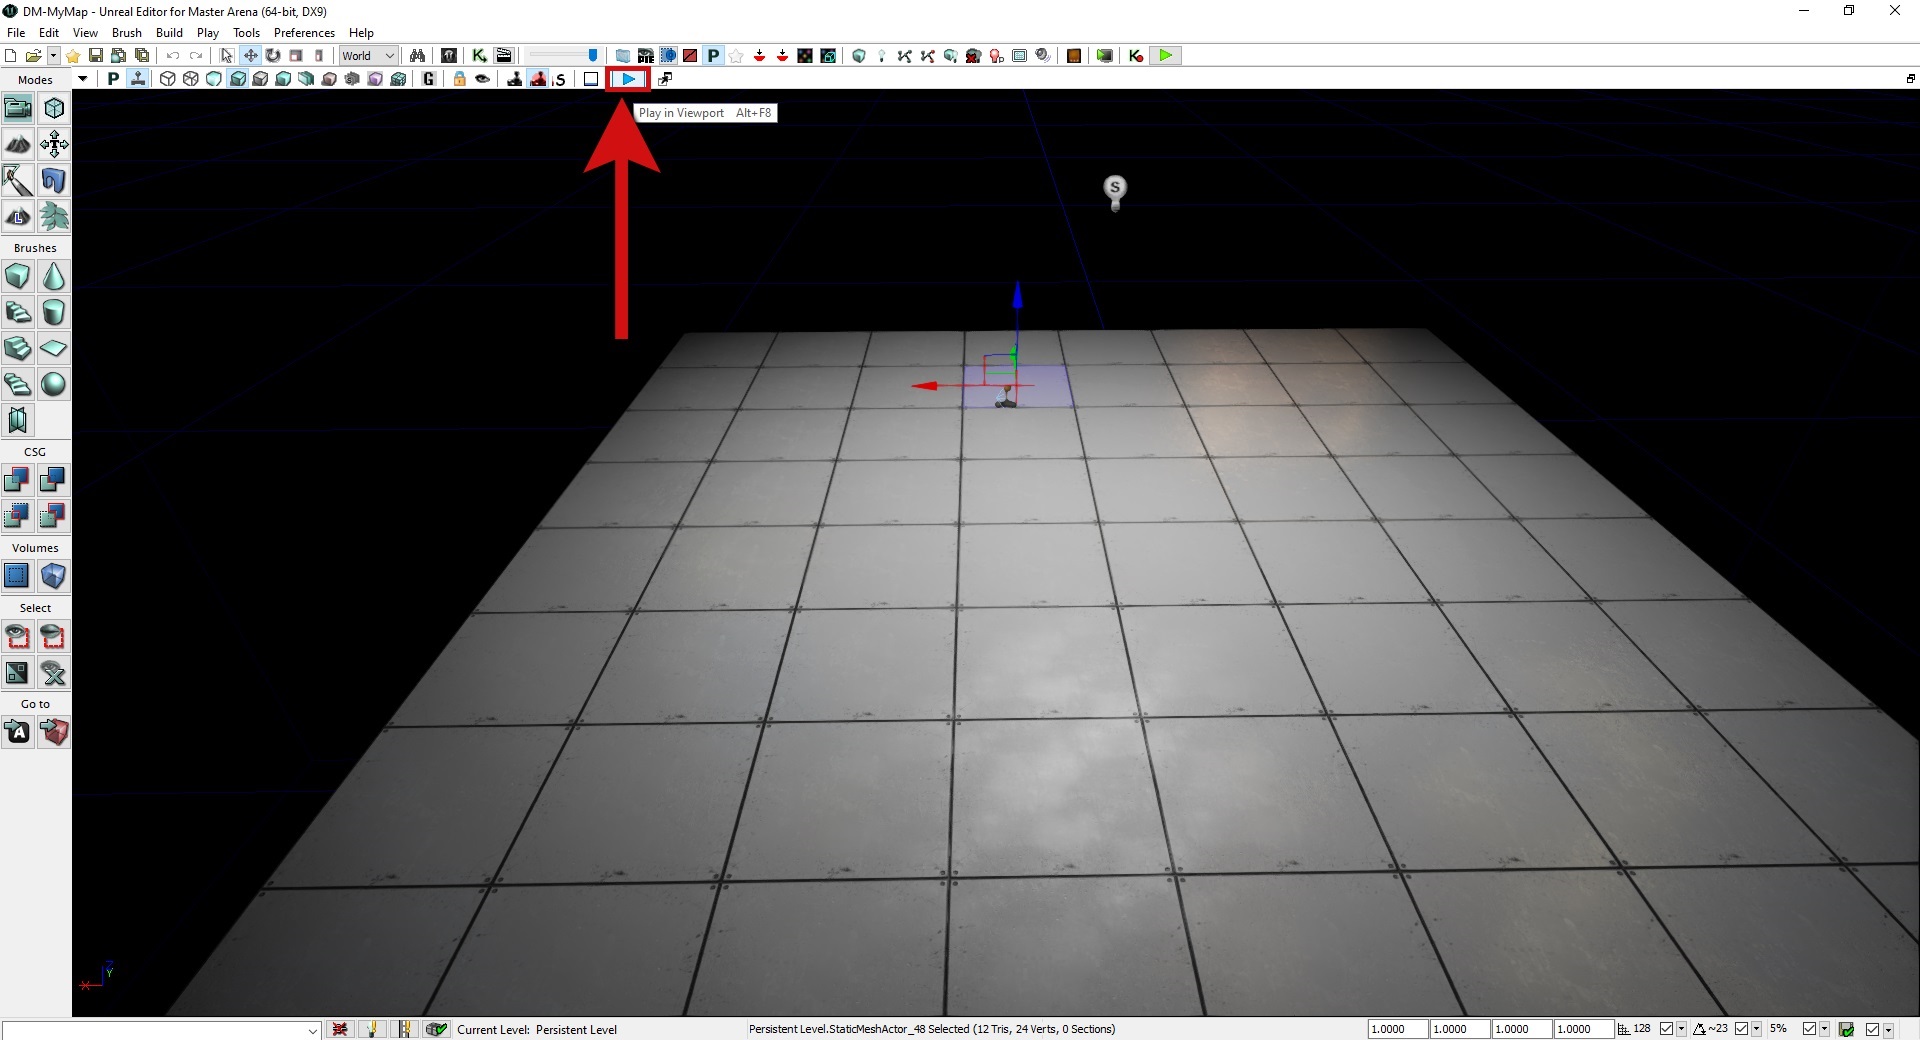
14
Here is the result:
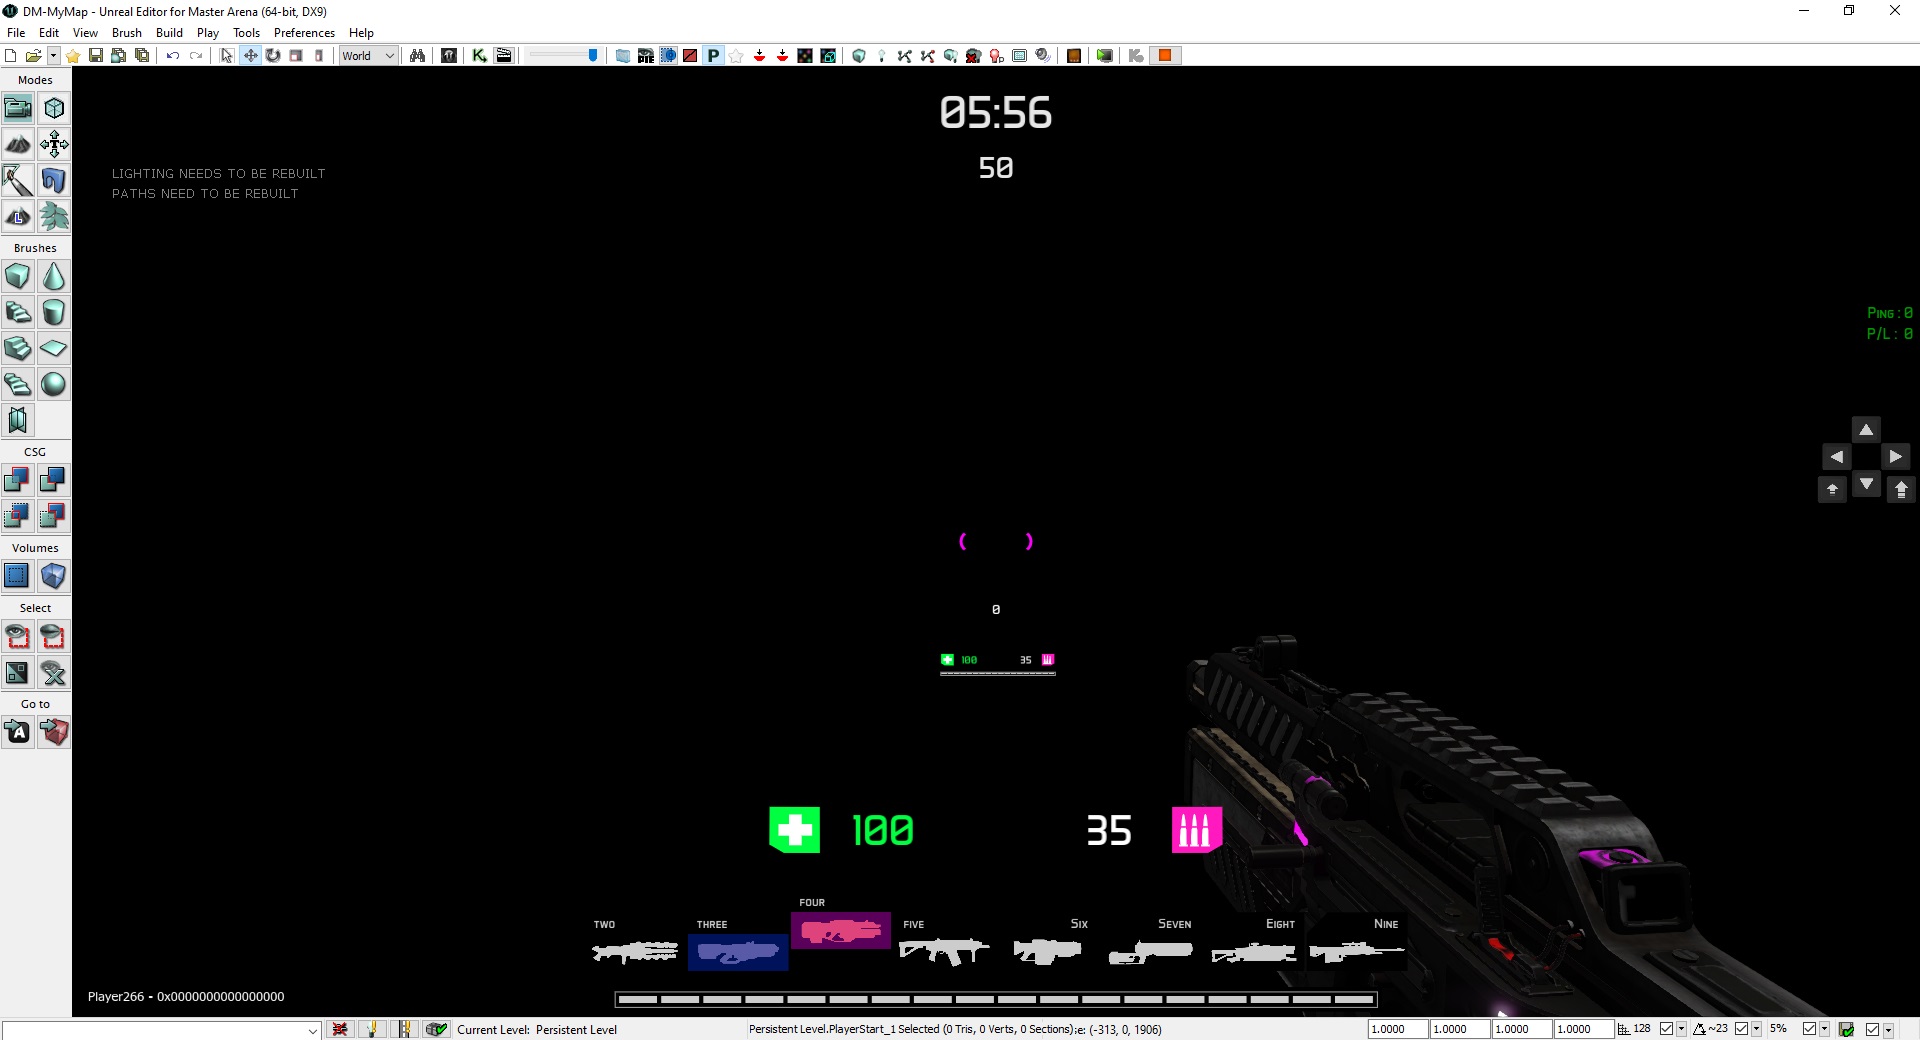
15
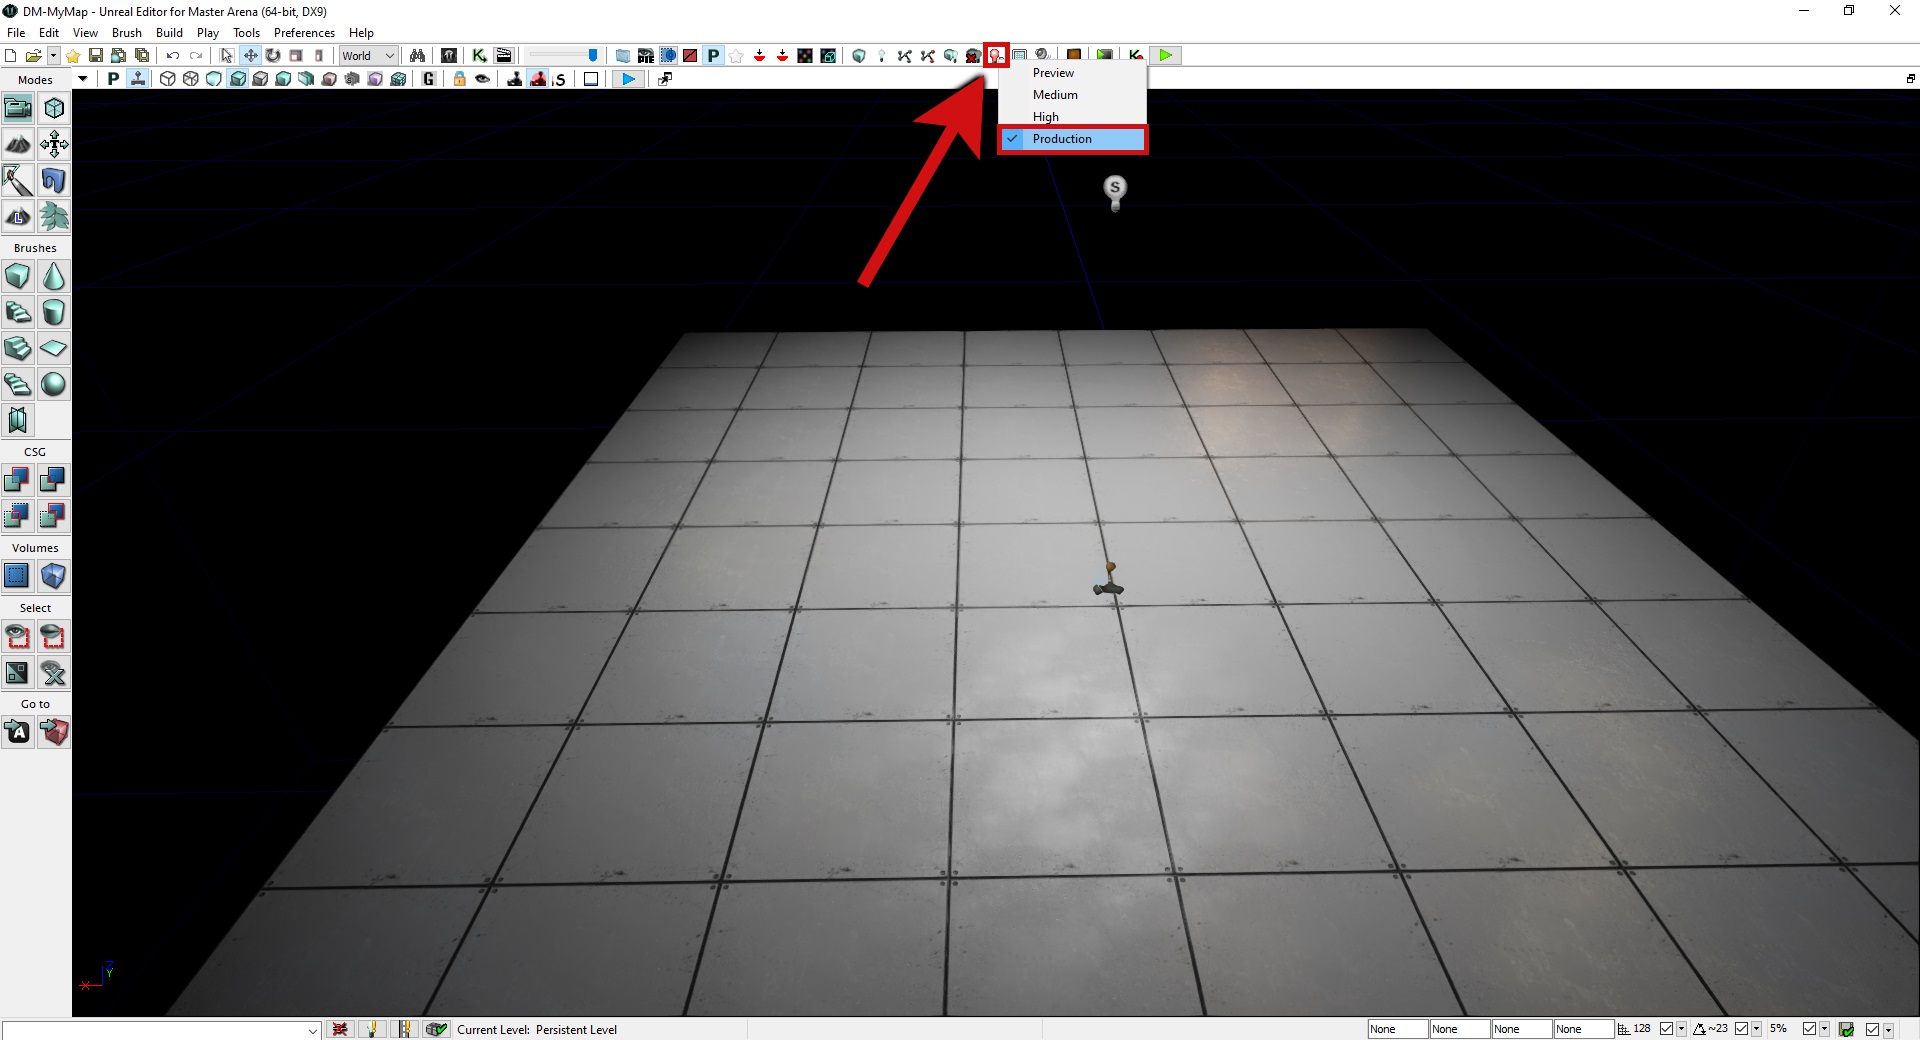
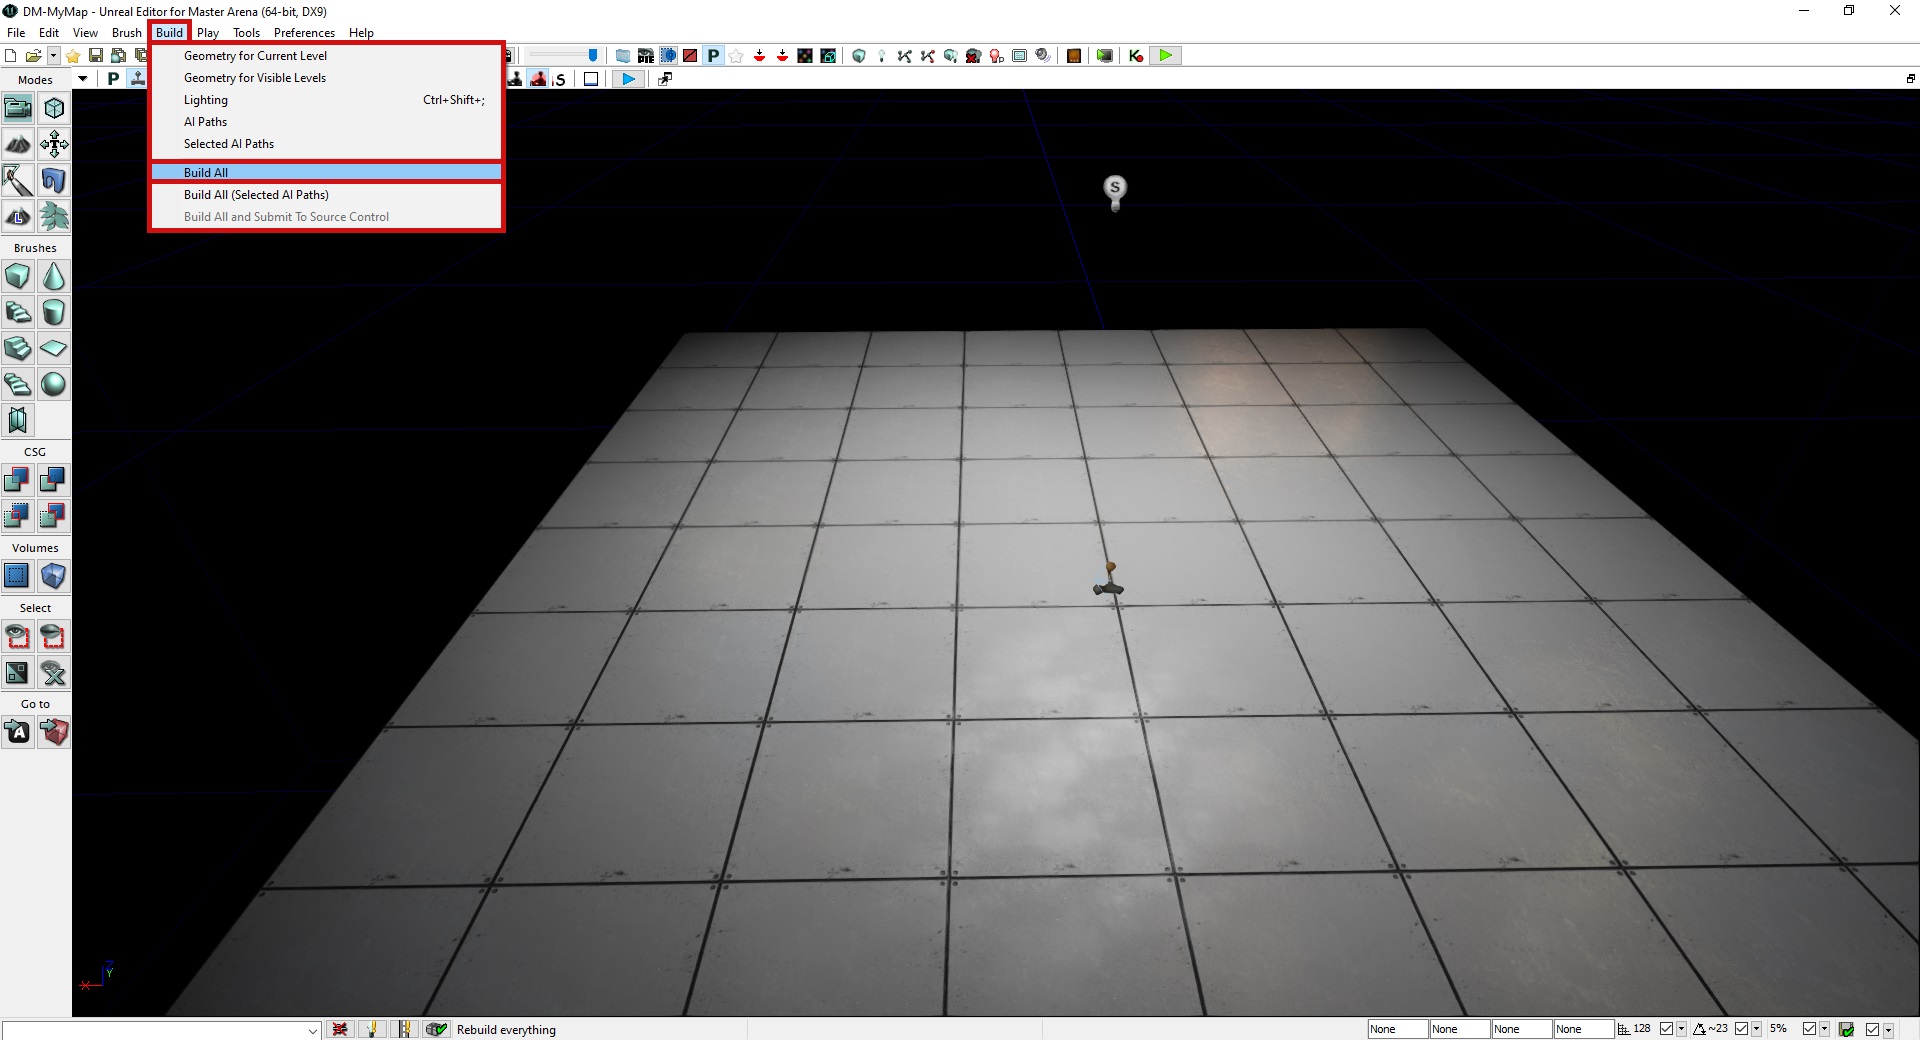
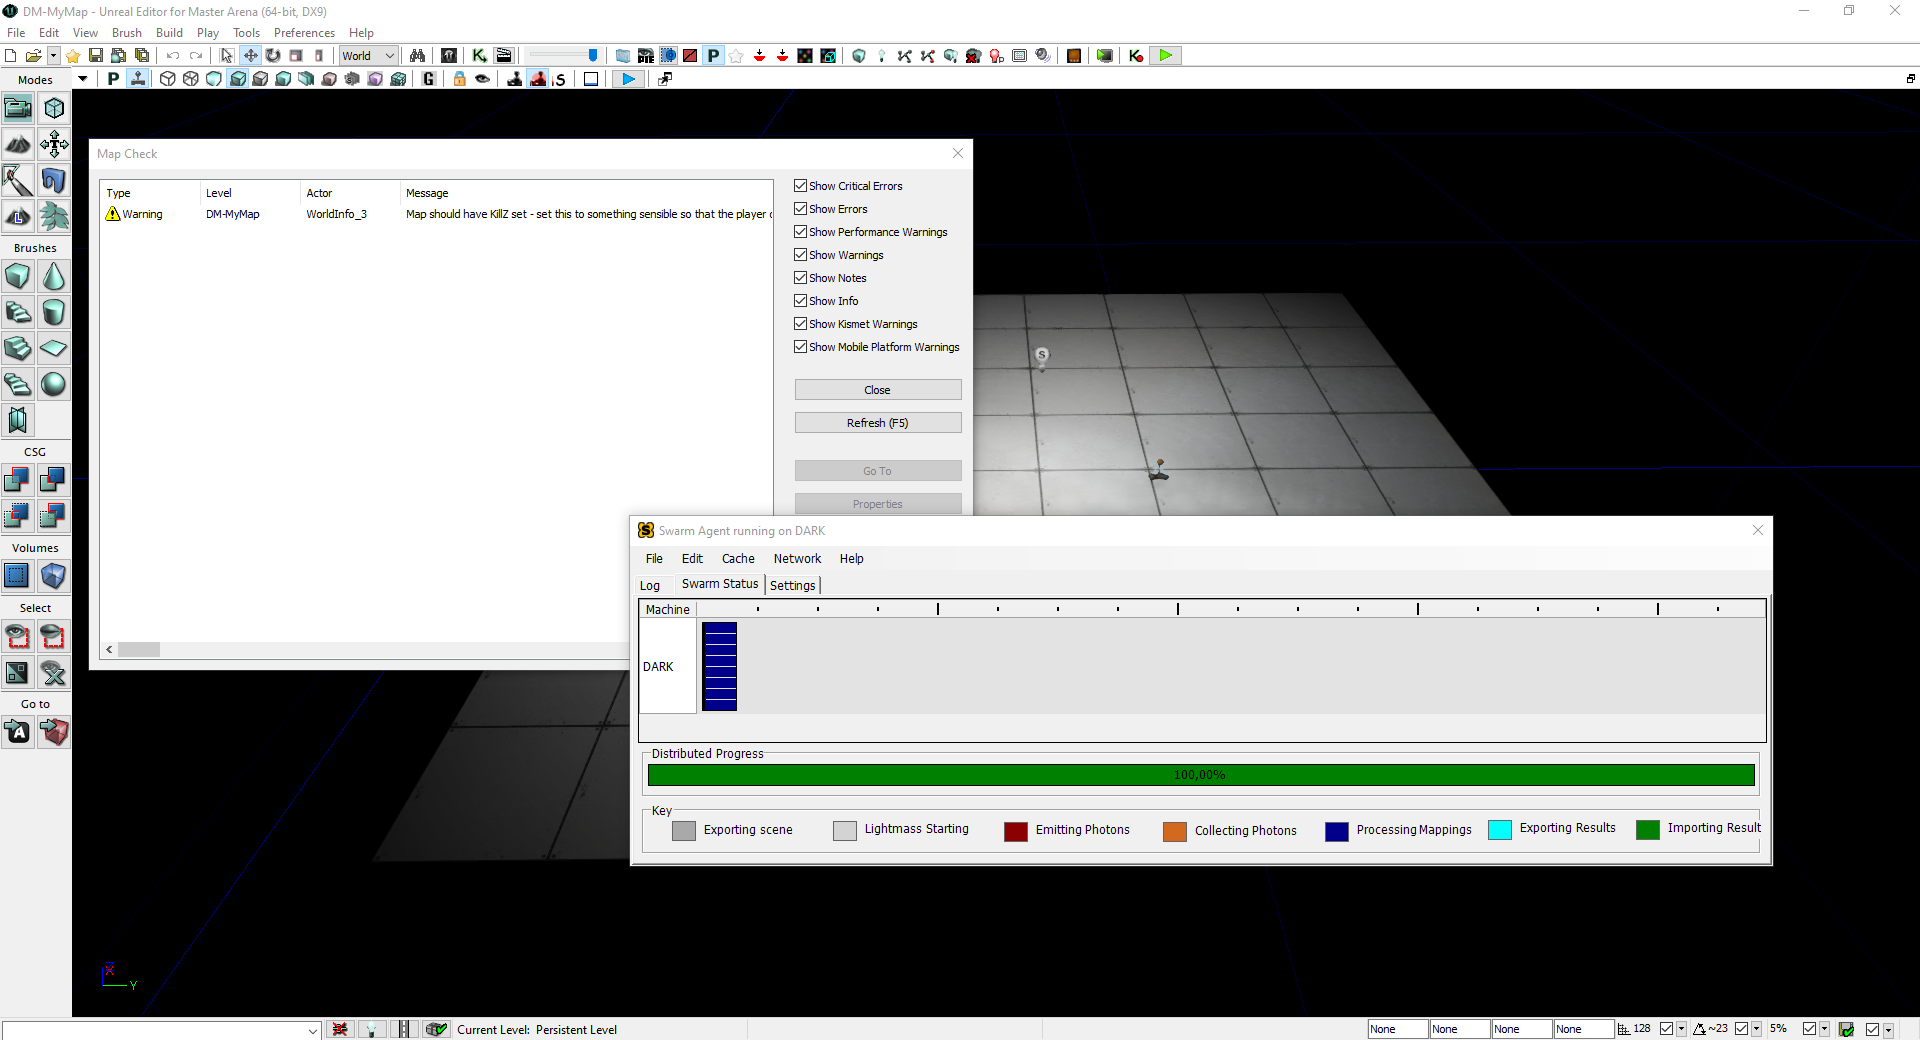
Oh! It’s black! Yes, you need to build the lights. Before building the lights, you have to select the quality (right-click on the icon and select “Production”):
16
Build progression :
17
Once it is finished, do not forget to save your map and re-test it:
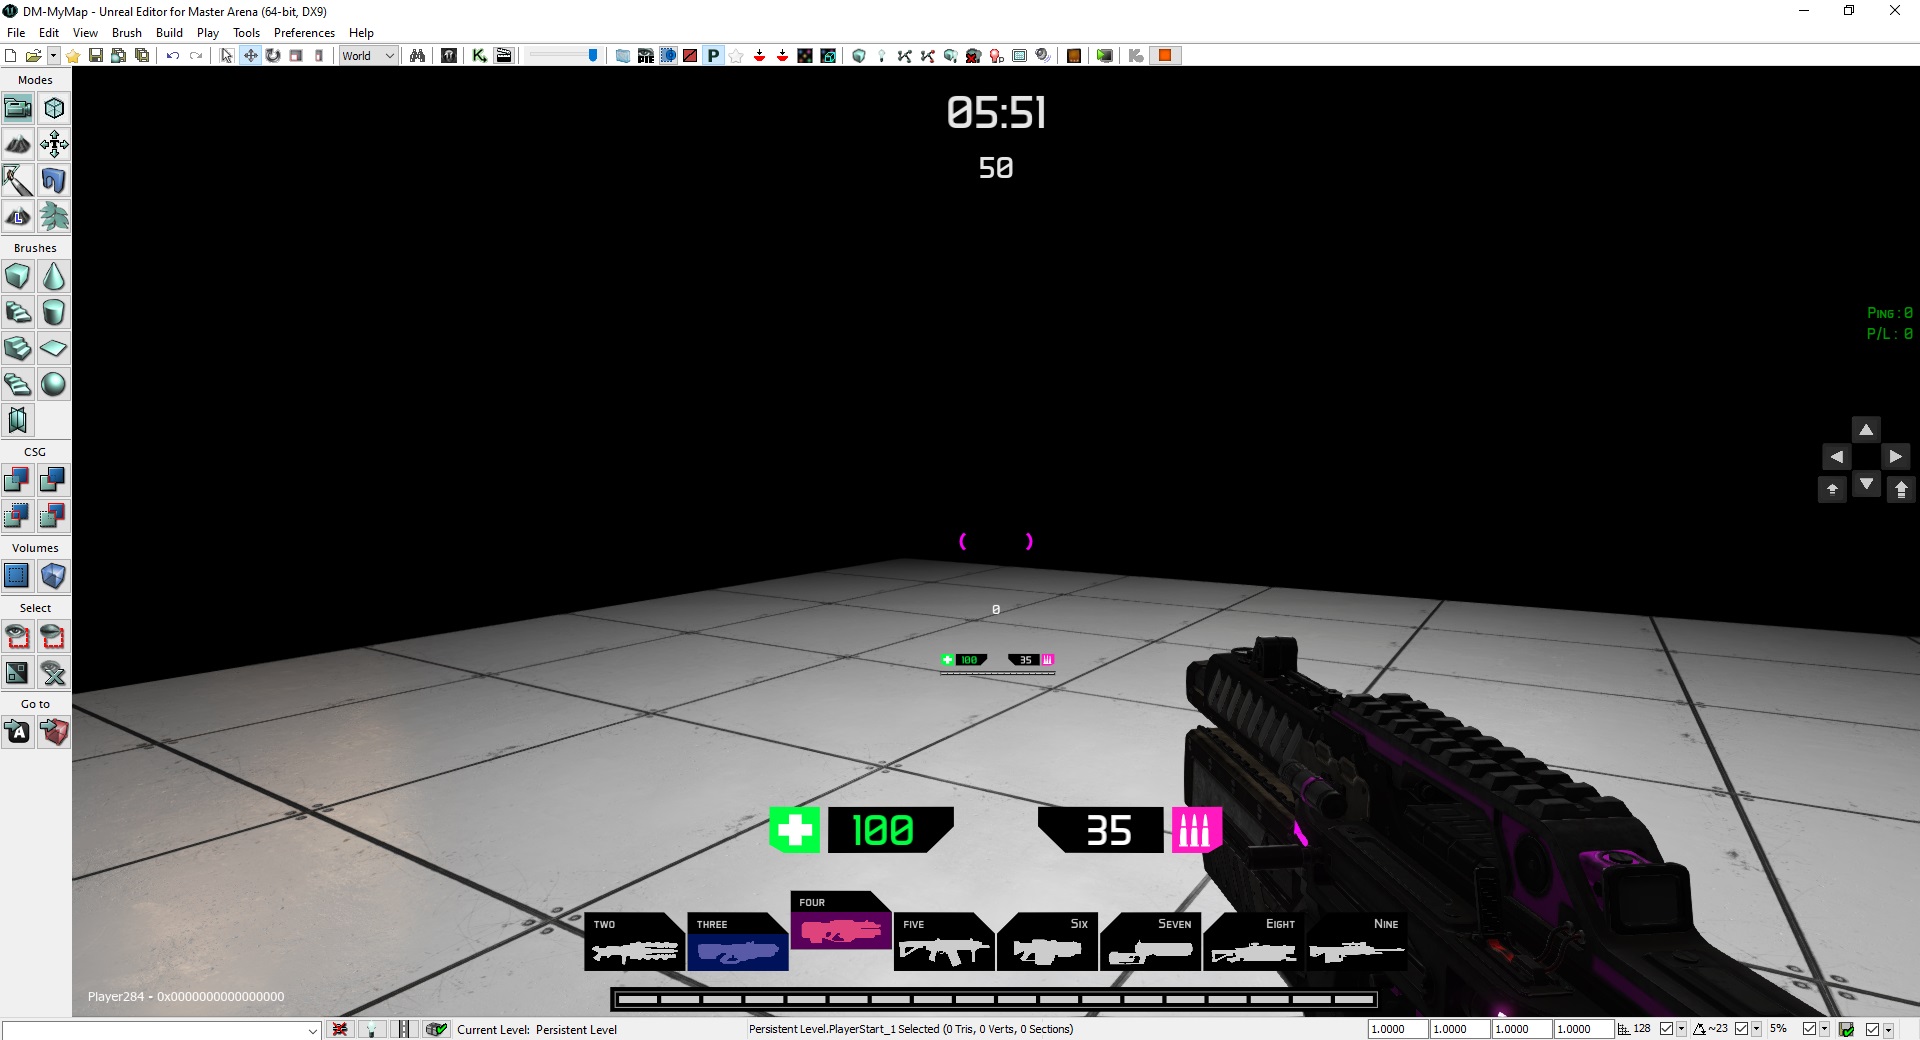
Congratulations, you just made a playable level for Master Arena 🙂

